
Sharing Reports
1. Navigate To Reports
Before you can start creating your user report, you will need to Navigate to reports
2. Edit
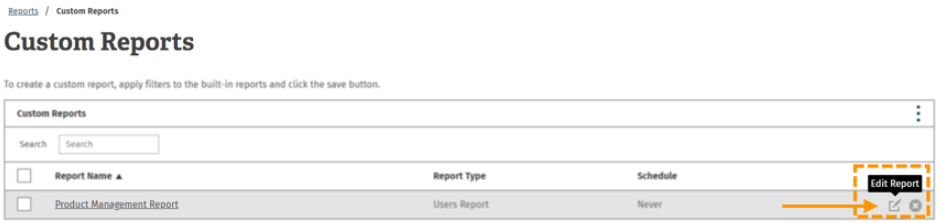
To start sharing your reports, you will have to go to the 'edit' table. To do this, click on the 'edit' button within the custom reports for the report you would like to assign users to.
In the example below, we will be editing the 'Product Management Report'.
3. Setting Date & Time
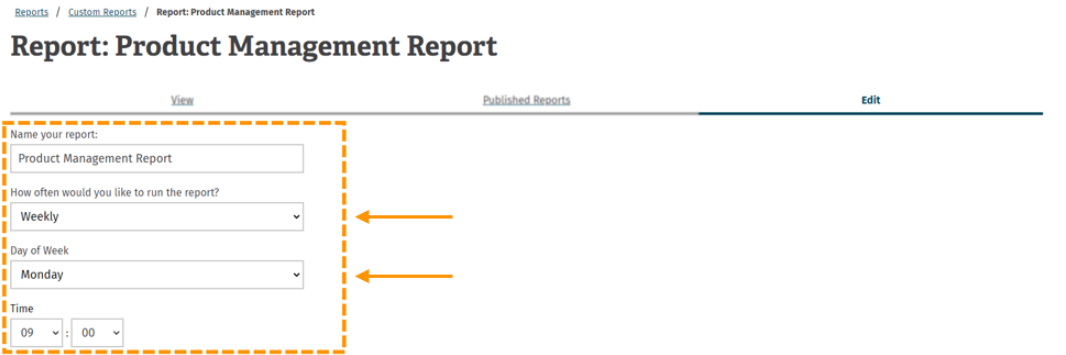
Once you have saved a report, it will end up in the 'custom reports' table. You are able to 'edit' the report which will allow you to assign users to view the report and you will be able to set up automatic emails of the reports.
Once you have made the changes, click 'update'.
In the example below, we have set the reports to be sent out on weekly on a Monday at 9am.
4. Add User
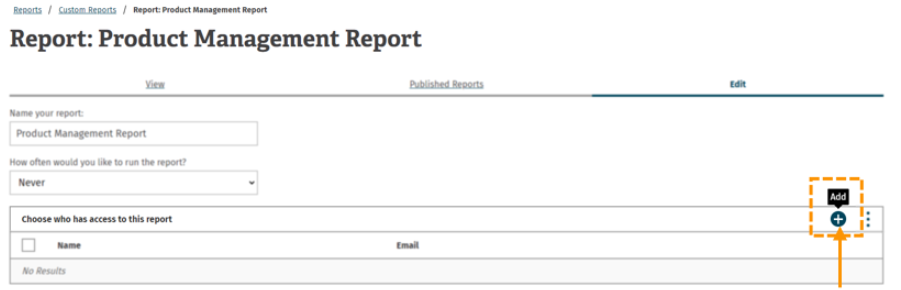
Once you have set the day/time of when you want the custom reports to be sent out, you can then add the users you would like to receive the reports.
To do this, click on the 'Add' button that can be found in the right hand corner of the 'choose who has access to this report' table.
Note
Standard users are unable to have access to the reports. As a minimum, the user has to have account type 'Reports (Assigned only)'. For more information on user roles, take a look at our Adding Users Individually guide.
5. Update
Once all the users that need access to that report have been added and the schedule has been set, click 'update'.
If you do not press update, then the changes you have made will not be saved.

Enjoyed using our product?
Help us out by leaving a review for on Gartner Peer Insights!
It only takes 5 minutes of your time and every review helps us immensely to reach new clients. Thank you so much.