
How to Add a Release Schedule
1. Navigate To Courses
Before you can start adding a release schedule, you will need to Navigate To Courses Navigate To Courses
2. Course Table
After clicking the course button you will be taken to the course table.
The table will include a list of courses that have been assigned to the organisation.
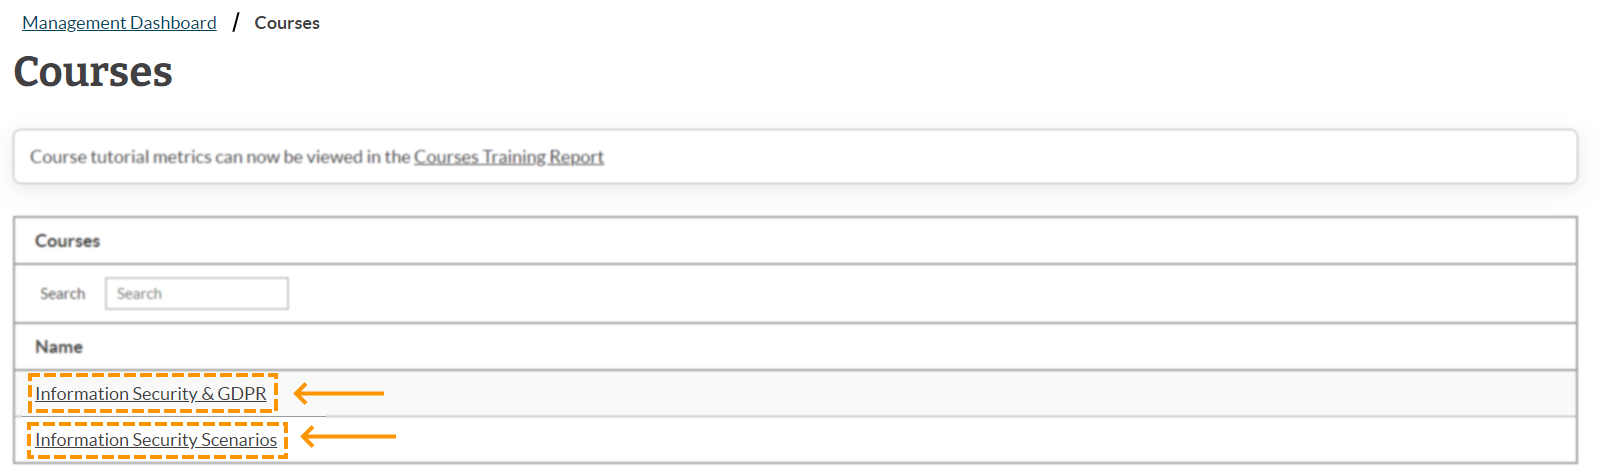
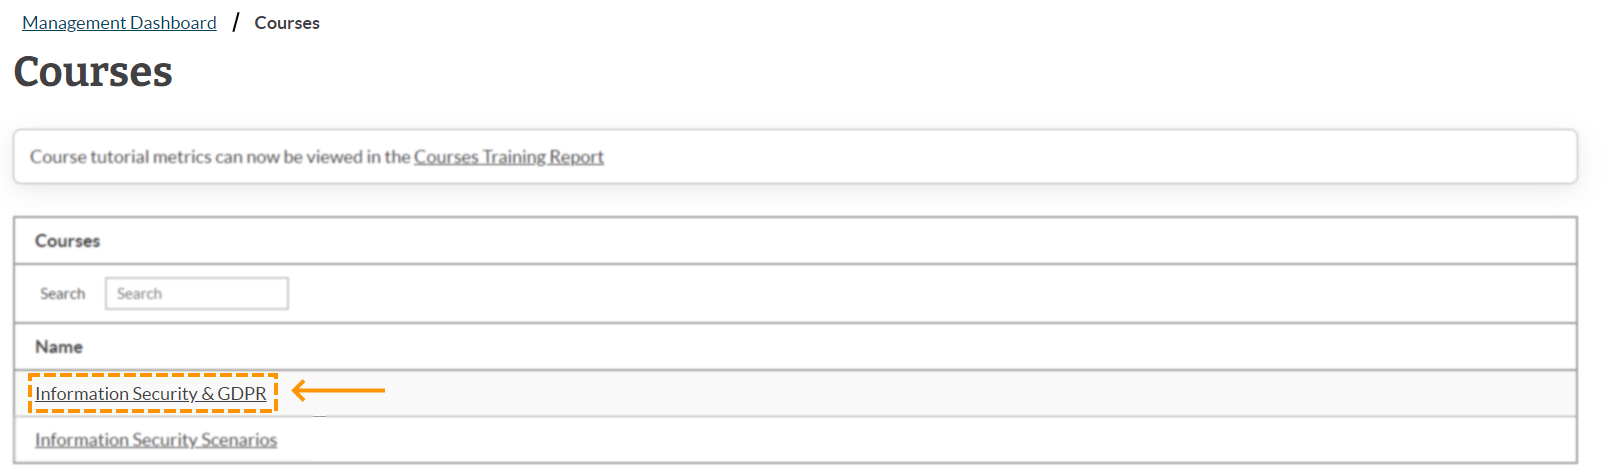
3. Select Course To Manage
Find the course you wish to add a release schedule for and click the 'course name'.
4. Add
Click the 'add' button that can be found in the far right of the assigned group row.

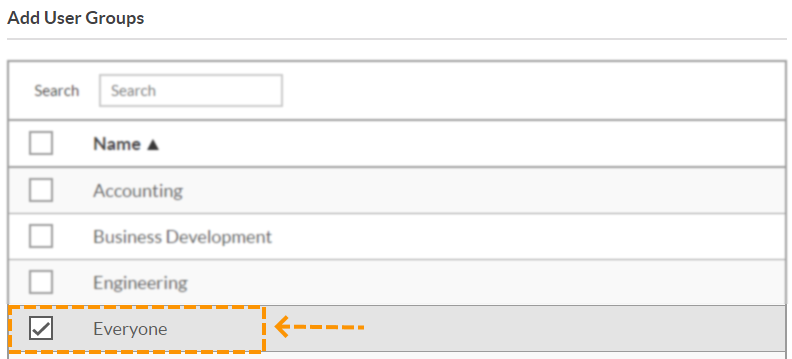
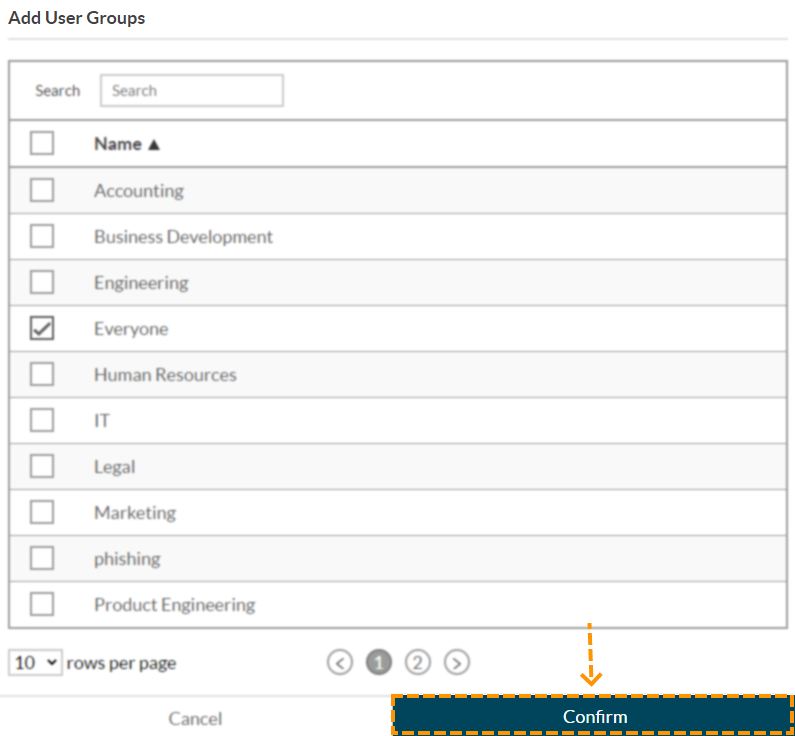
5. User Group Selection
You will then be presented with a list of groups that are on the LMS. Select the groups you would like to have a release schedule for by clicking the box next to the group name.
6. Confirm
Once you have selected all the groups you want, click the 'confirm' button to finish the process of adding a release schedule.
Enjoyed using our product?
Help us out by leaving a review for on Gartner Peer Insights!
It only takes 5 minutes of your time and every review helps us immensely to reach new clients. Thank you so much.