
Creating A Custom Phishing Template
Phishing simulation campaigns are essential tools for testing an organisation's vulnerability to phishing attacks and for training employees to recognise phishing attempts. Follow the steps below to create your own custom phishing template.
Important: This guide is intended for creating simulated phishing campaigns for training purposes only. Unauthorised phishing attempts are illegal and unethical. Please do not use personal information, personal images, or real logos in any of your campaigns.
1. Launching Phishing Email Editor
Navigate To Phishing
First, Navigate to phishing
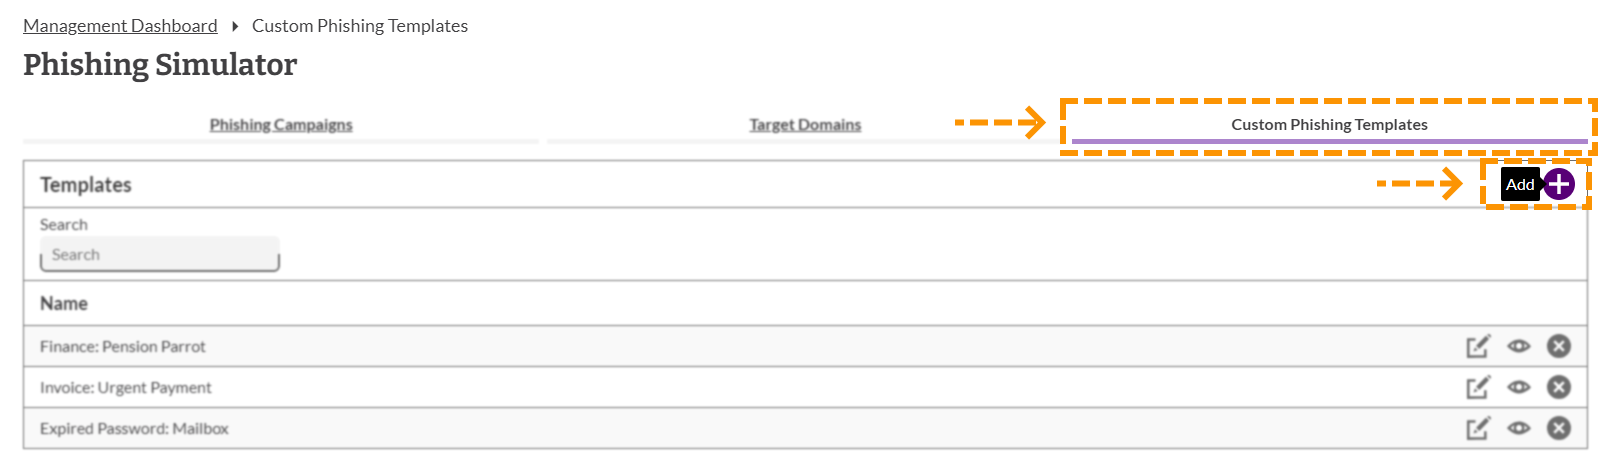
From here you will see the Phishing Simulator. You will see a table showing the following tabs: The current phishing campaigns, target domains and the custom phishing templates. Select the custom phishing templates tab.
To create a custom phishing template, click on the add button that can be found in the top right corner of the phishing simulator.
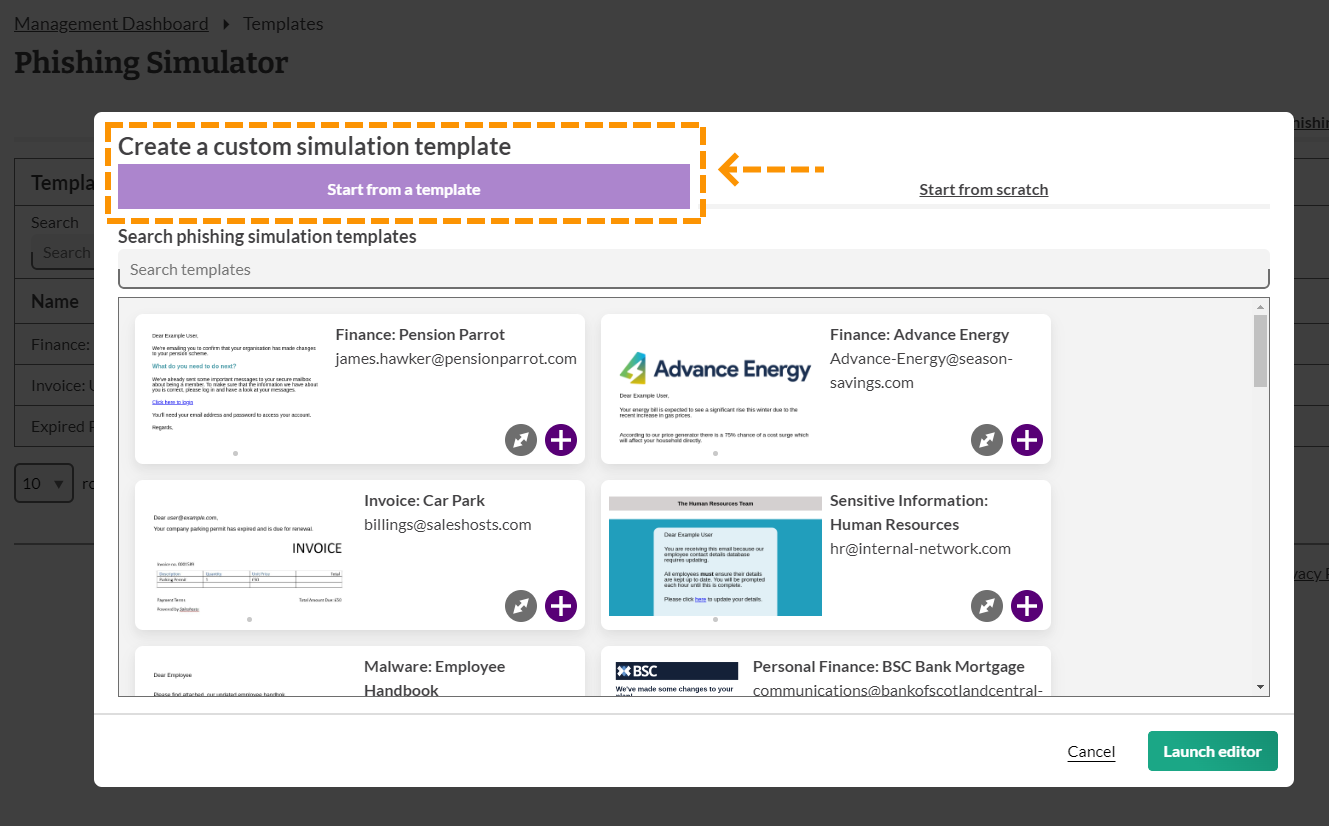
You will then have the option to start the custom phishing campaign from an existing template or from scratch. The example below uses the start from a template.
You will then have to choose the template that you would like to use. Please click the plus (+) button to start using that template.
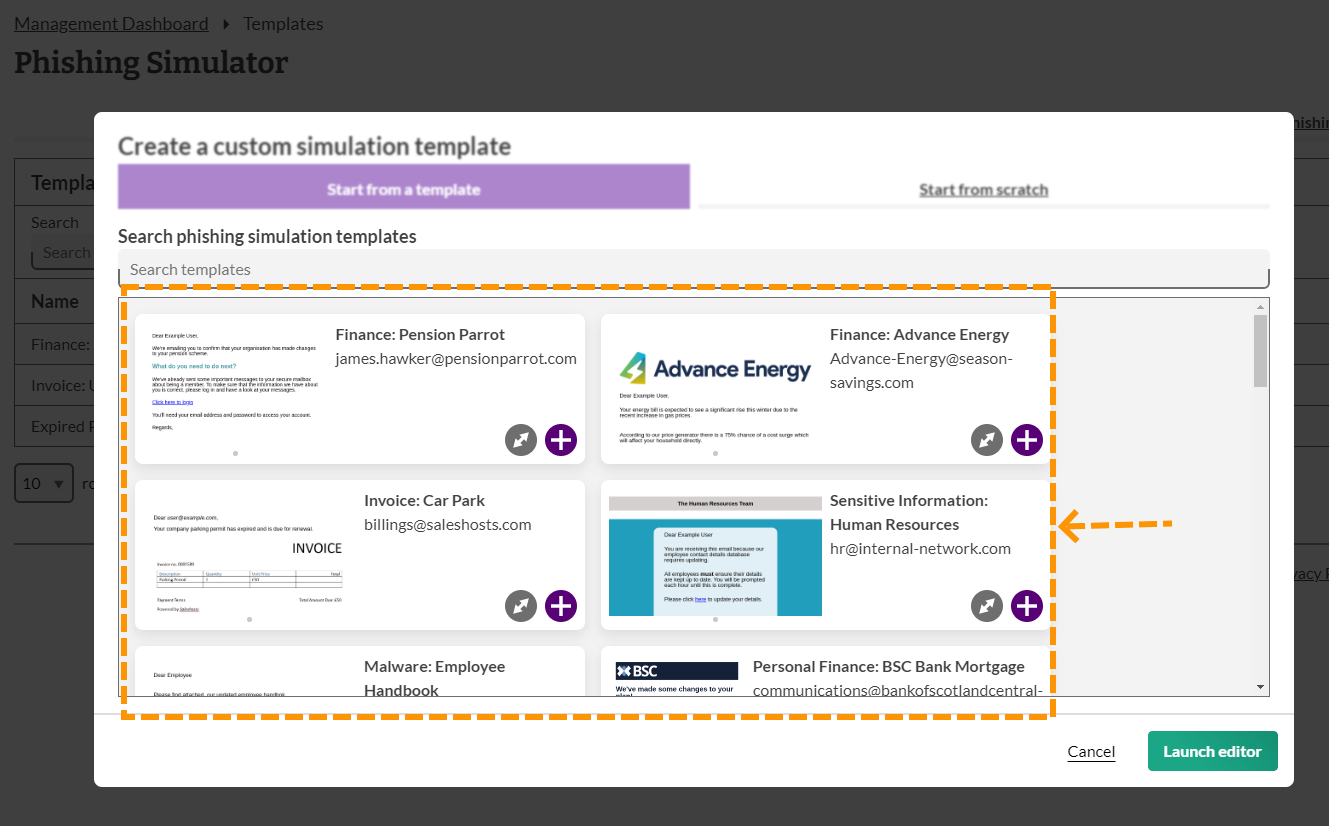
Once you have selected the template you would like to use, click the launch editor button that can be found in the bottom right corner of the template selection screen.

2. Phishing Email Editor
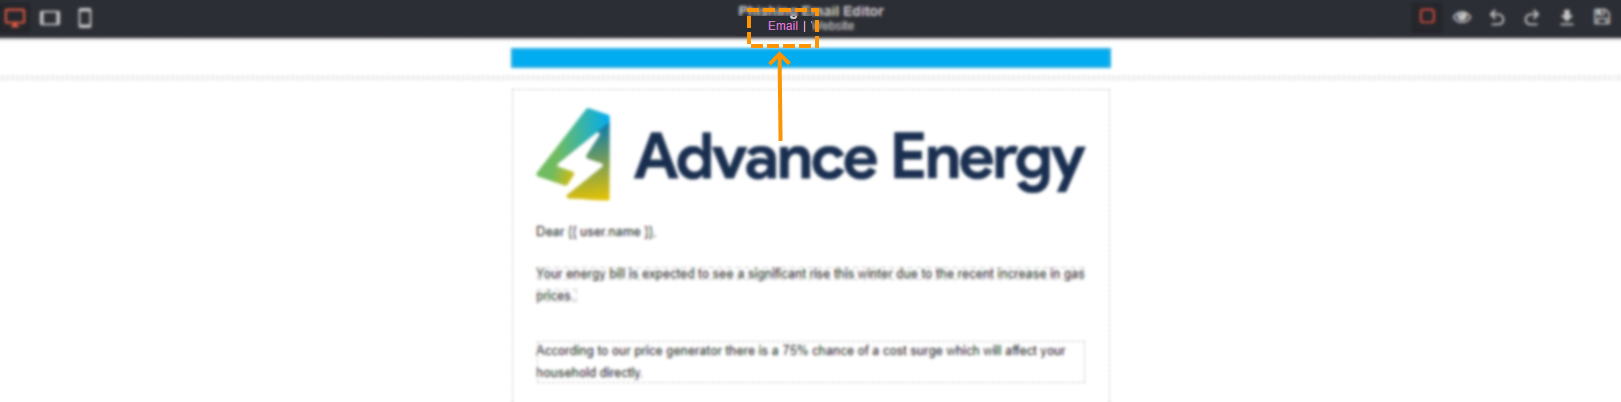
You will then be taken to the Phishing Email Editor page. From here you can start editing the email.
Renaming The Template
Before you start to edit the template, you should re-name the template to prevent any changes happening to the original phishing template.
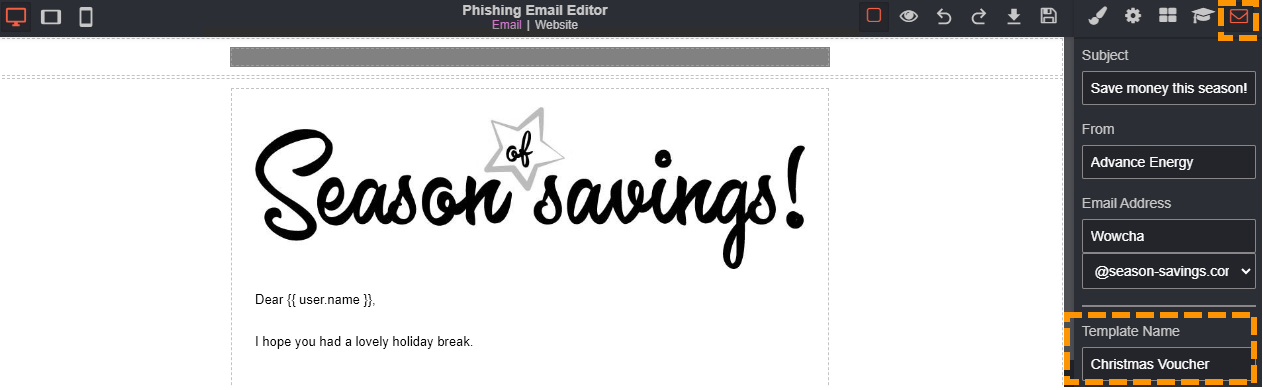
To do this, navigate to the 'edit email options' that can be found in to the top right corner of the Phishing Email Editor. Once the 'edit email options' has been selected, you will see a list of email editing options.
Go to 'Template name'. From here you can re-name the template. In this example, the below template has been named Christmas Voucher.
Save Template
Once you have re-named your template, please save your template. As you continue to edit your template, please keep saving your work.
To save your template, navigate to the save icon that can be found within the Phishing Email Editor bar, click to save.
![]()
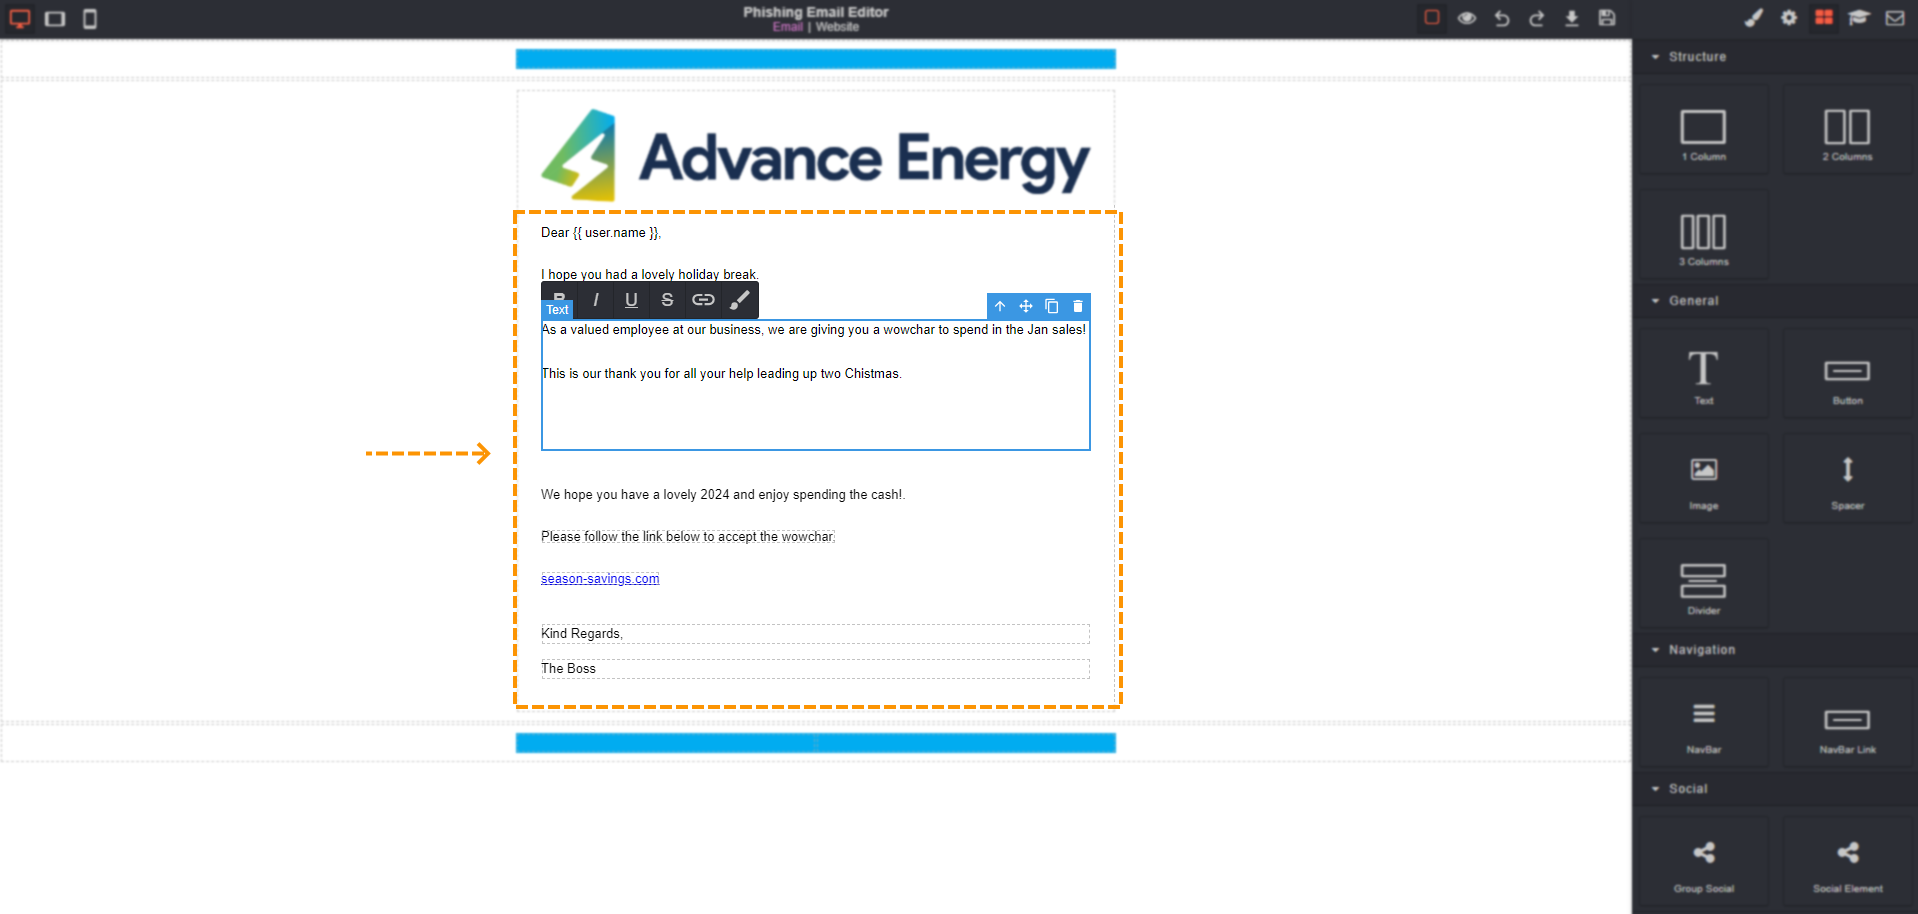
Changing The Text
If you would like to change the text in the custom phishing email, double click the text you would like to change. You will then see a box appear that has the options to bold, italic, underline, strike through, add a link and wrap text for style.
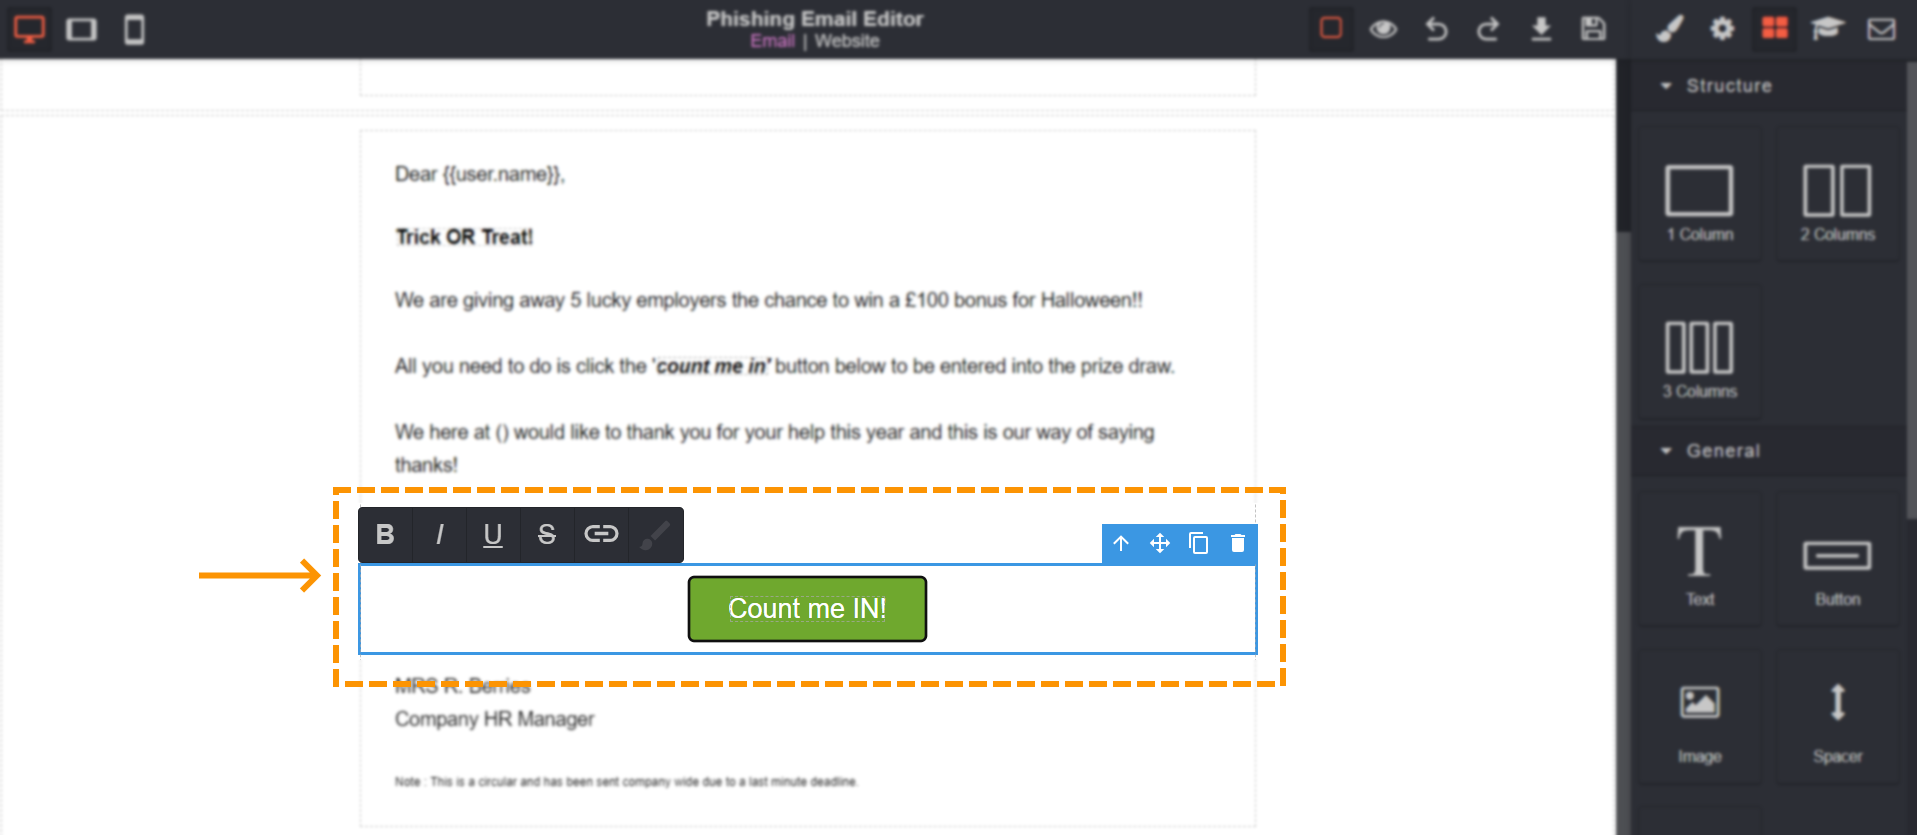
Editing A Button
To start editing a button, double click the button you would like to edit. Once the text formatting box appears, you button is ready to edit.
Adding A Link
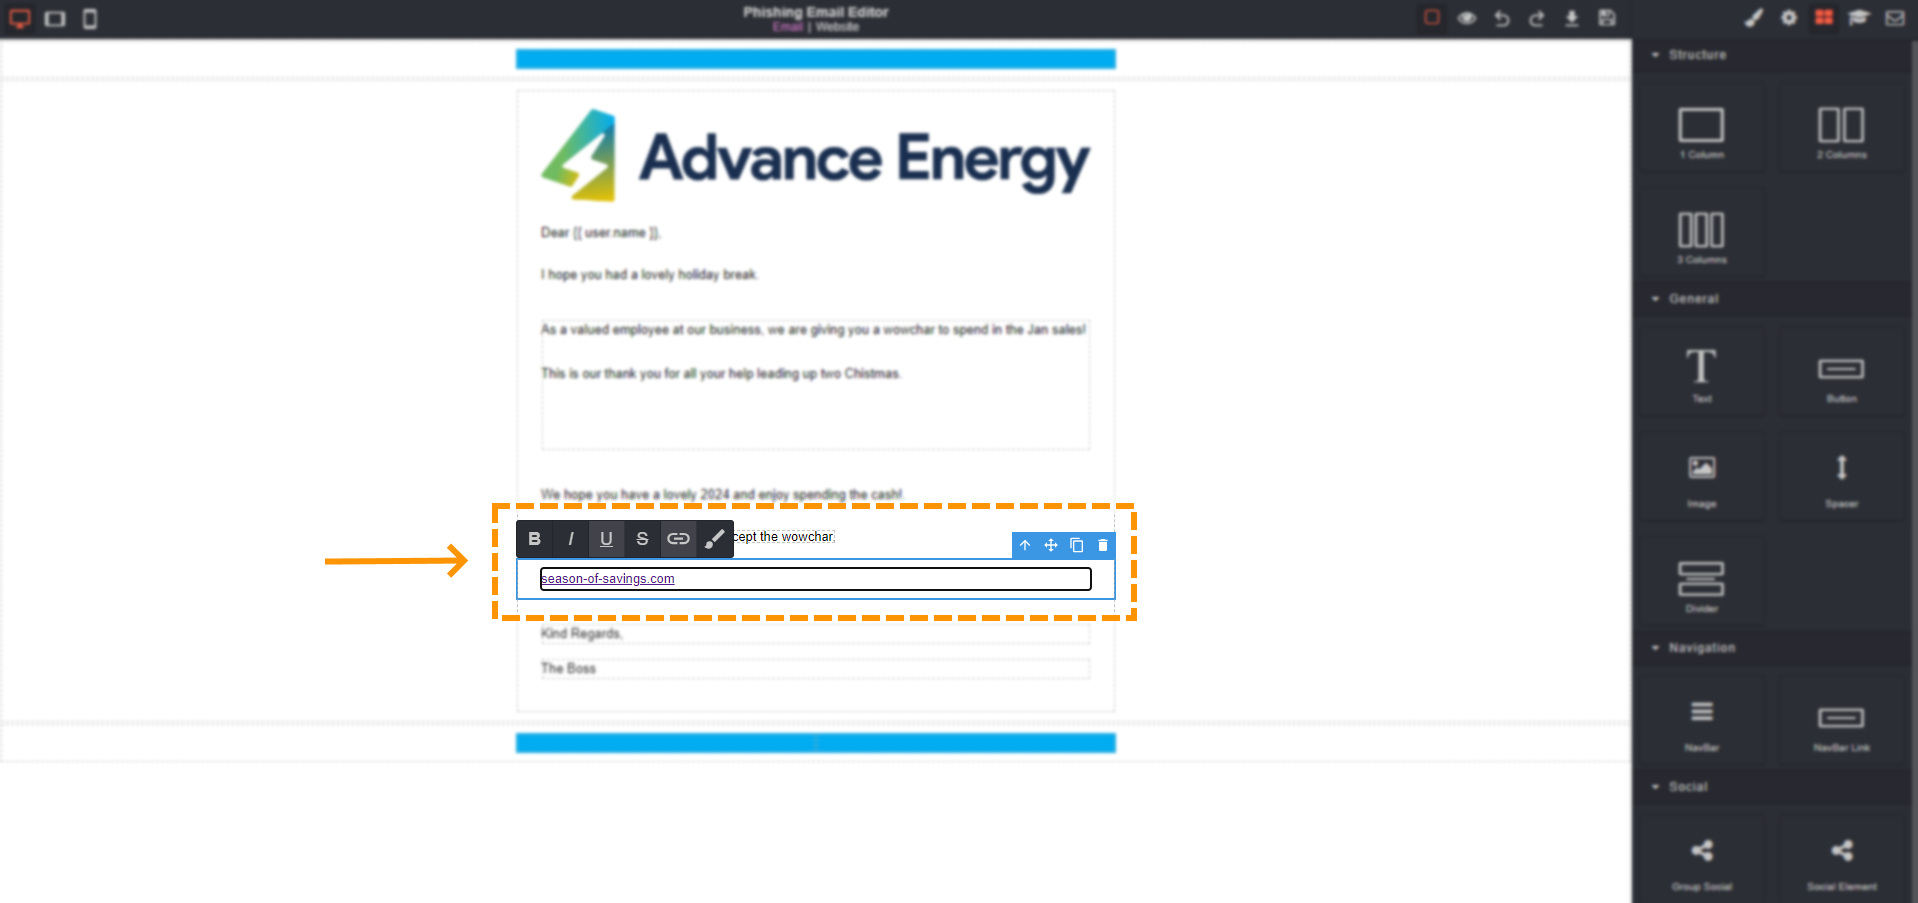
To add a link to your custom phishing template, in a text box, write the text for your link. In this example, the link will be "season-of-savings.com"
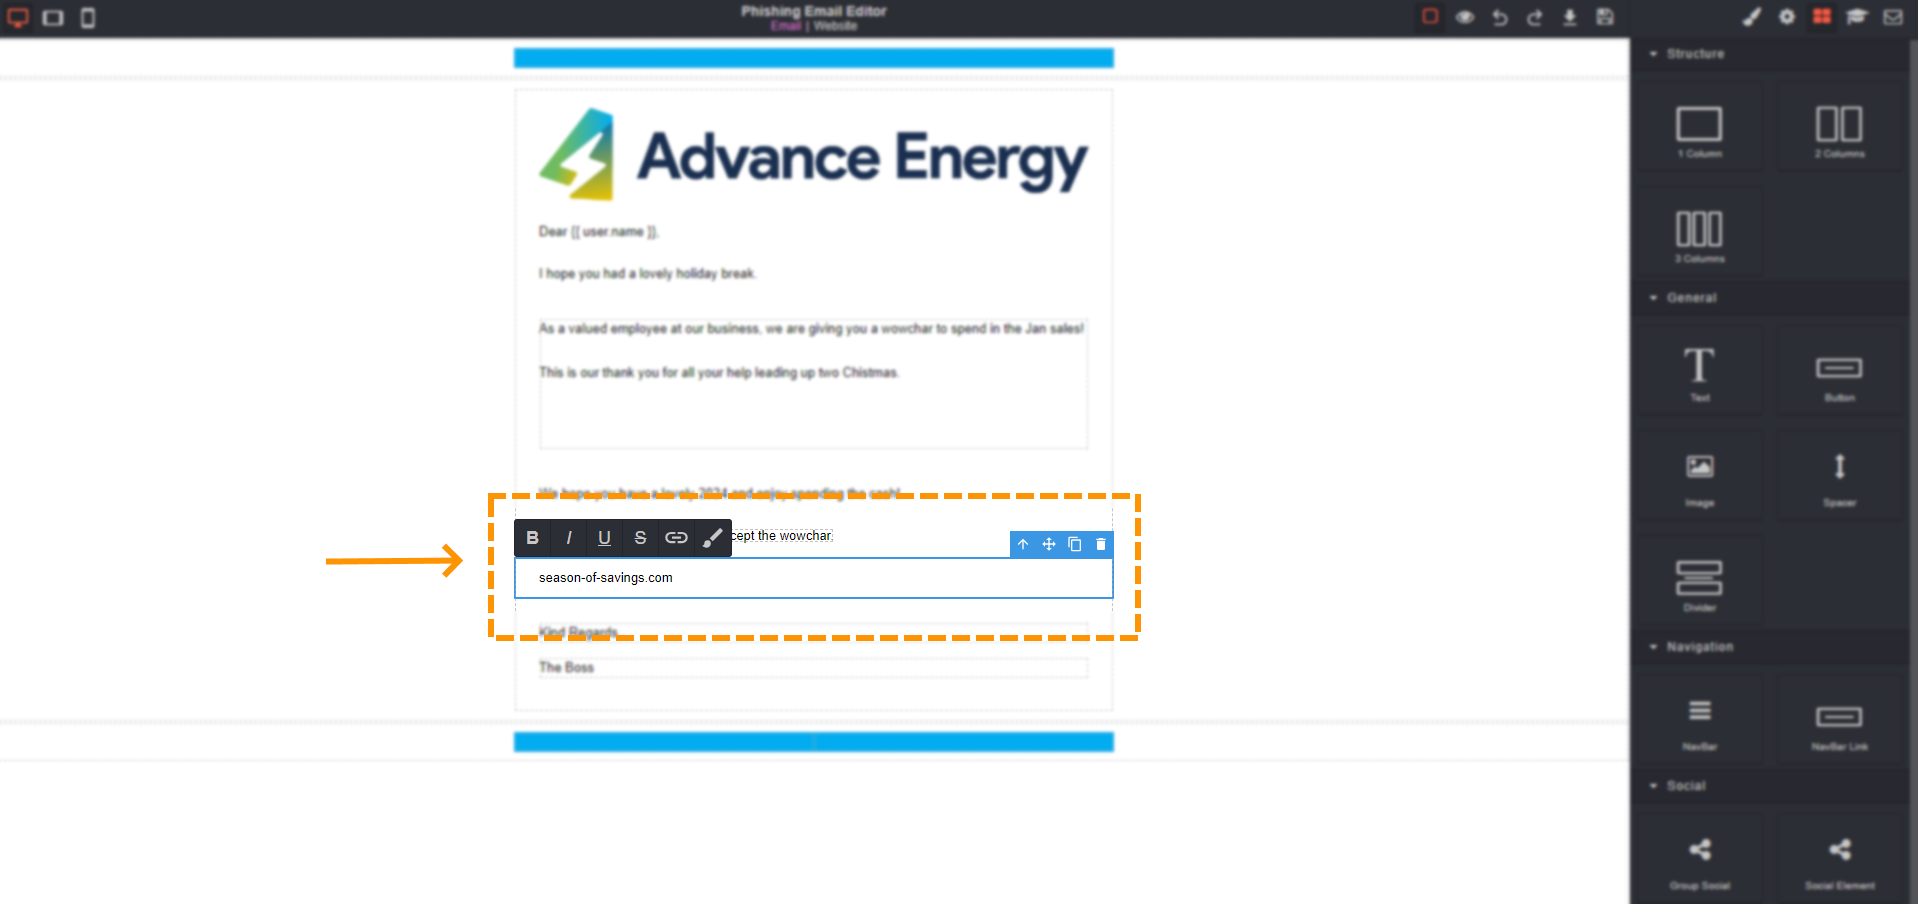
Once you have your text, you will see a box appear that gives you the option to add a link.
Highlight your text and select the link button.
Once you click the link button, you should see your text change to a link.
Now that you have your link, you need that link to be directed to a website. To do this, select the settings icon that can be found in the top right corner of the Phishing Email Editor. It will be to the left of the open blocks icon.
Once you are in settings, click the link that you have just created.
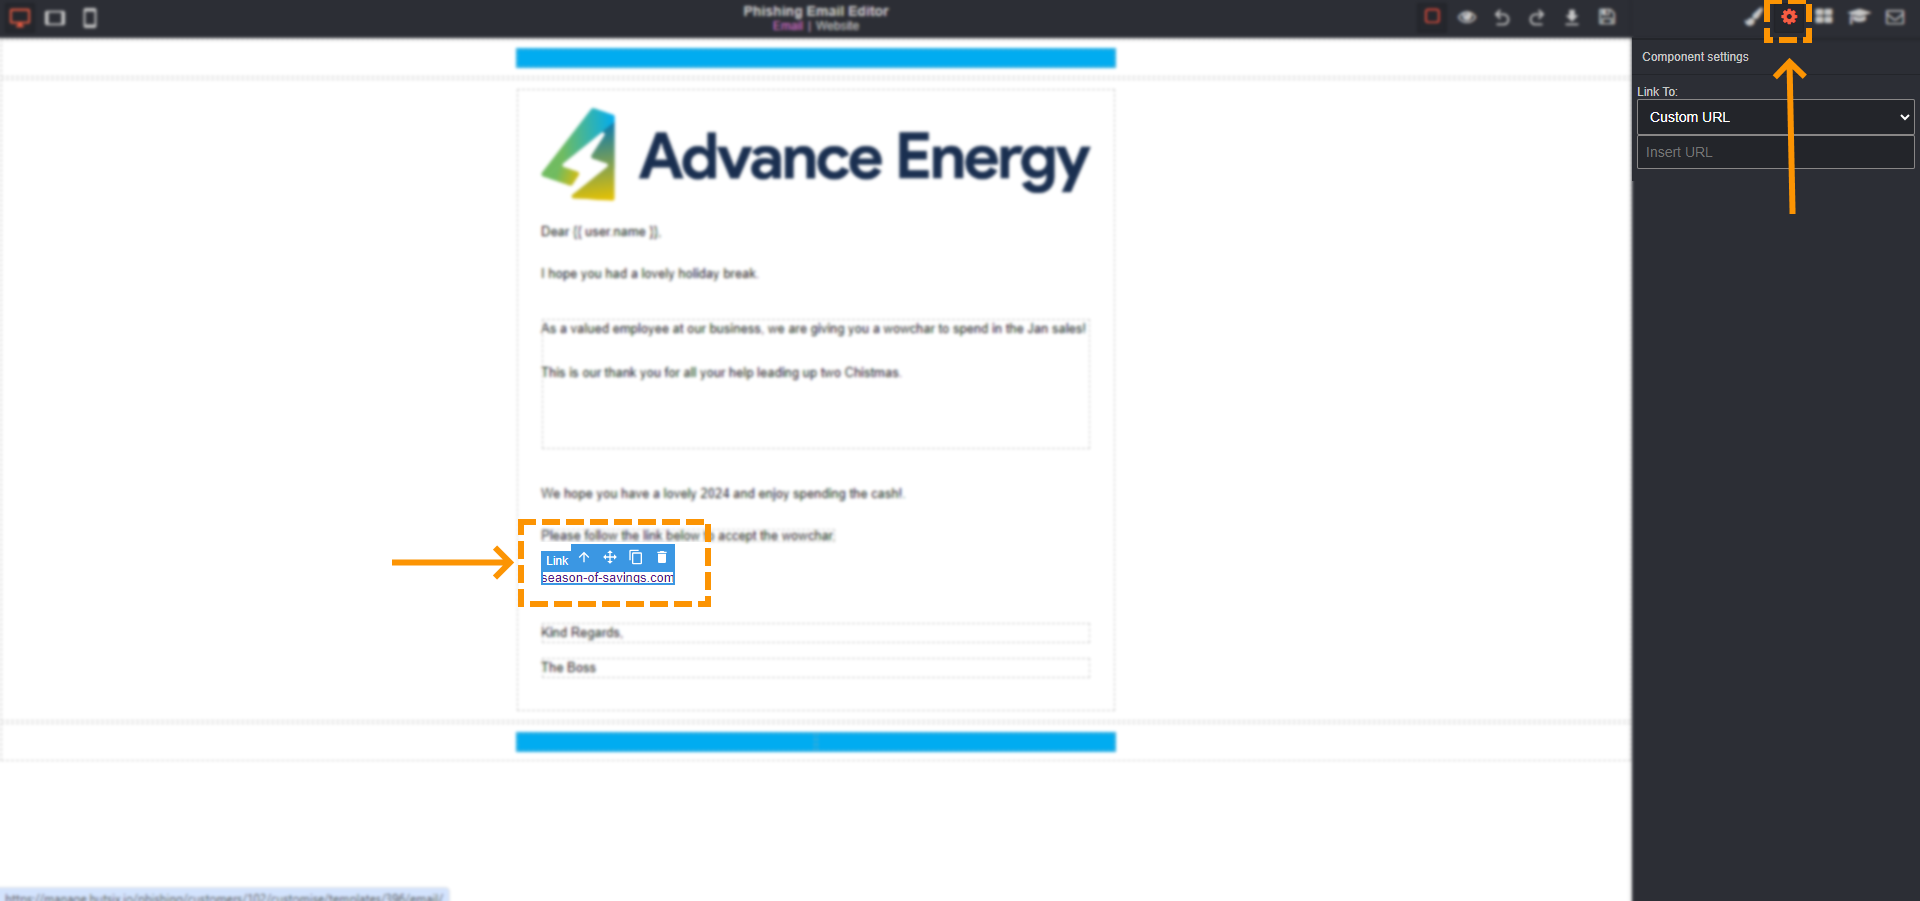
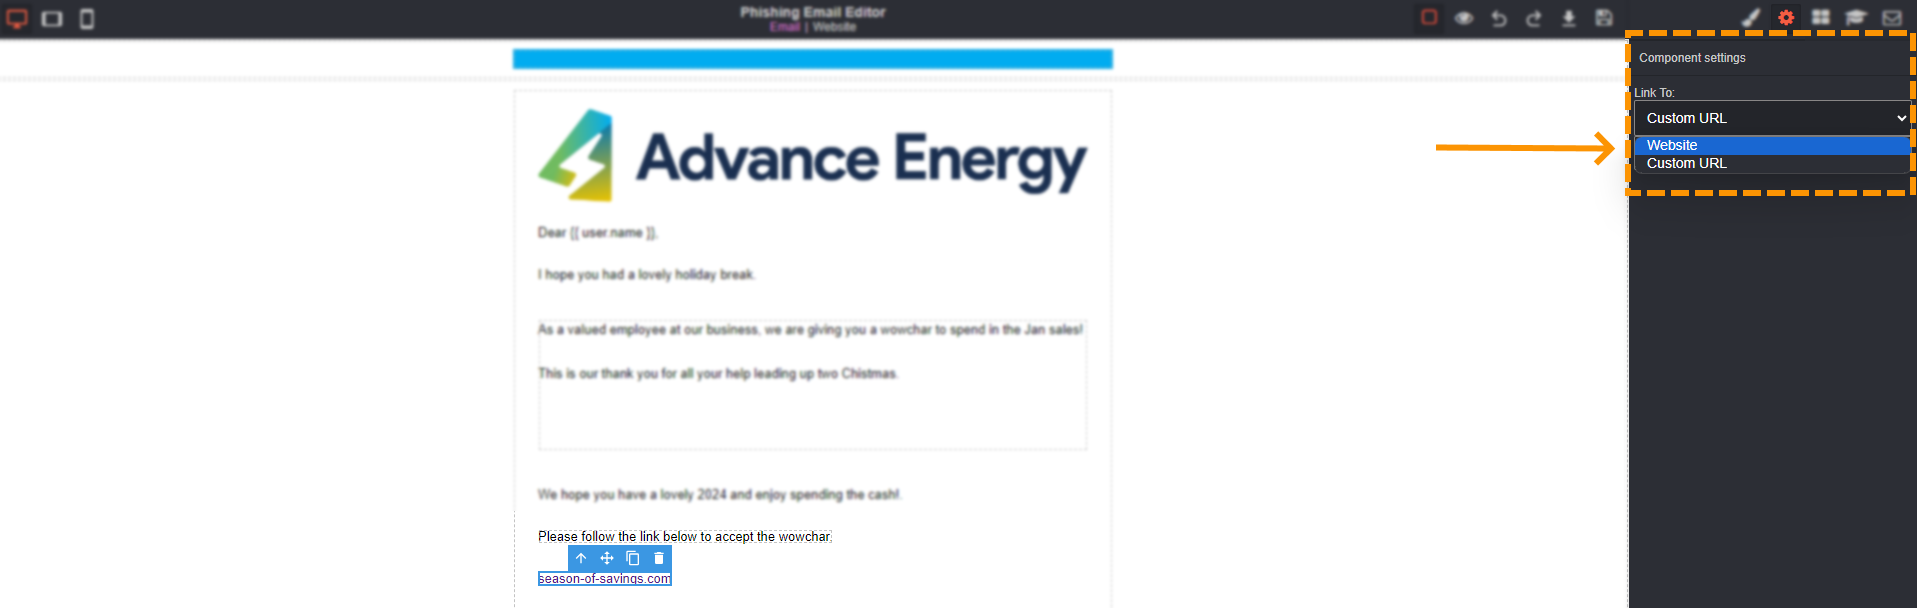
You will then see the components settings. From here you will need to direct your link to a website. To do this click the box that says "Custom URL".
A drop down menu will then appear, please select website. This then ensures that when a user selects the link, they will be taken to the corresponding website of that link.
Changing An Image
After the image icon has been added to your template, you can then add an image. If you are unsure on how to add your image box, take a look at the Phishing editor block reference guide.
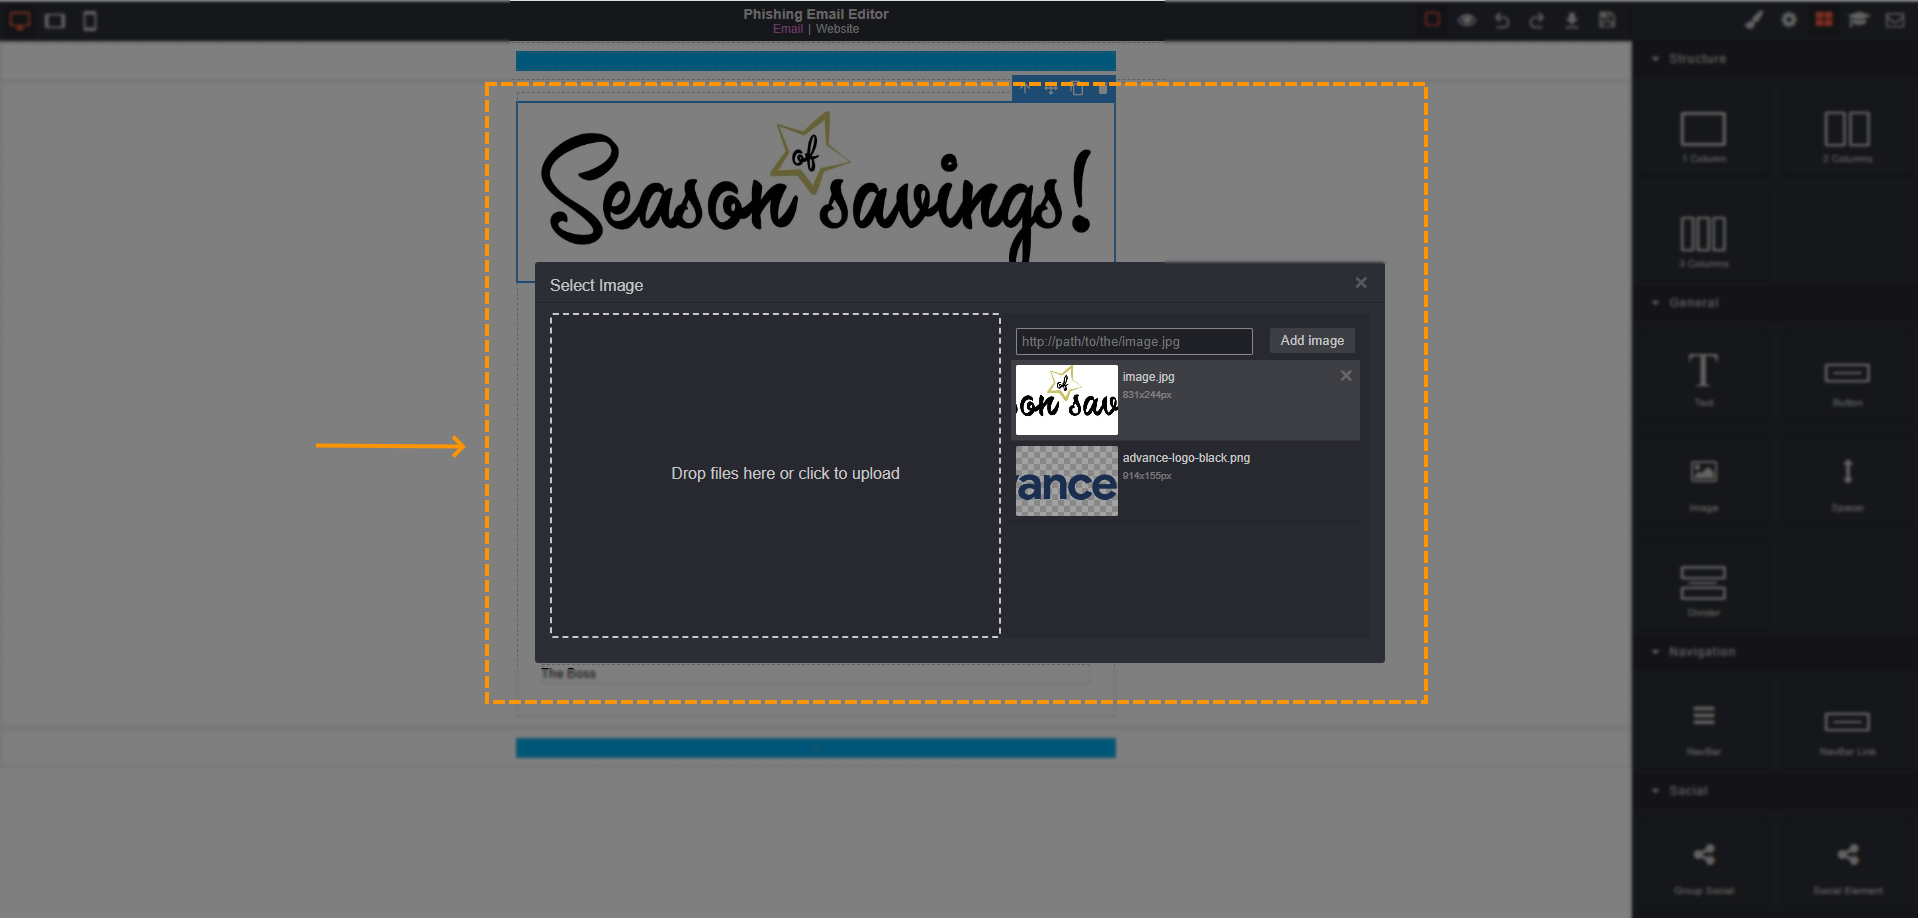
Once the image icon has been added, double click it.
A select image box will open. Click inside the box that says 'drop files here or click to upload'. From here, find the image you want to upload. Once you have found it, click 'open'. The image will automatically be added to your custom phishing template.
To exit out of the image upload box, click the cross 'x' in the top right corner of the select image box.
3. Website Editor
The steps to edit a button, add a link or change an image for the email editor are the same steps to go through for the website editor.
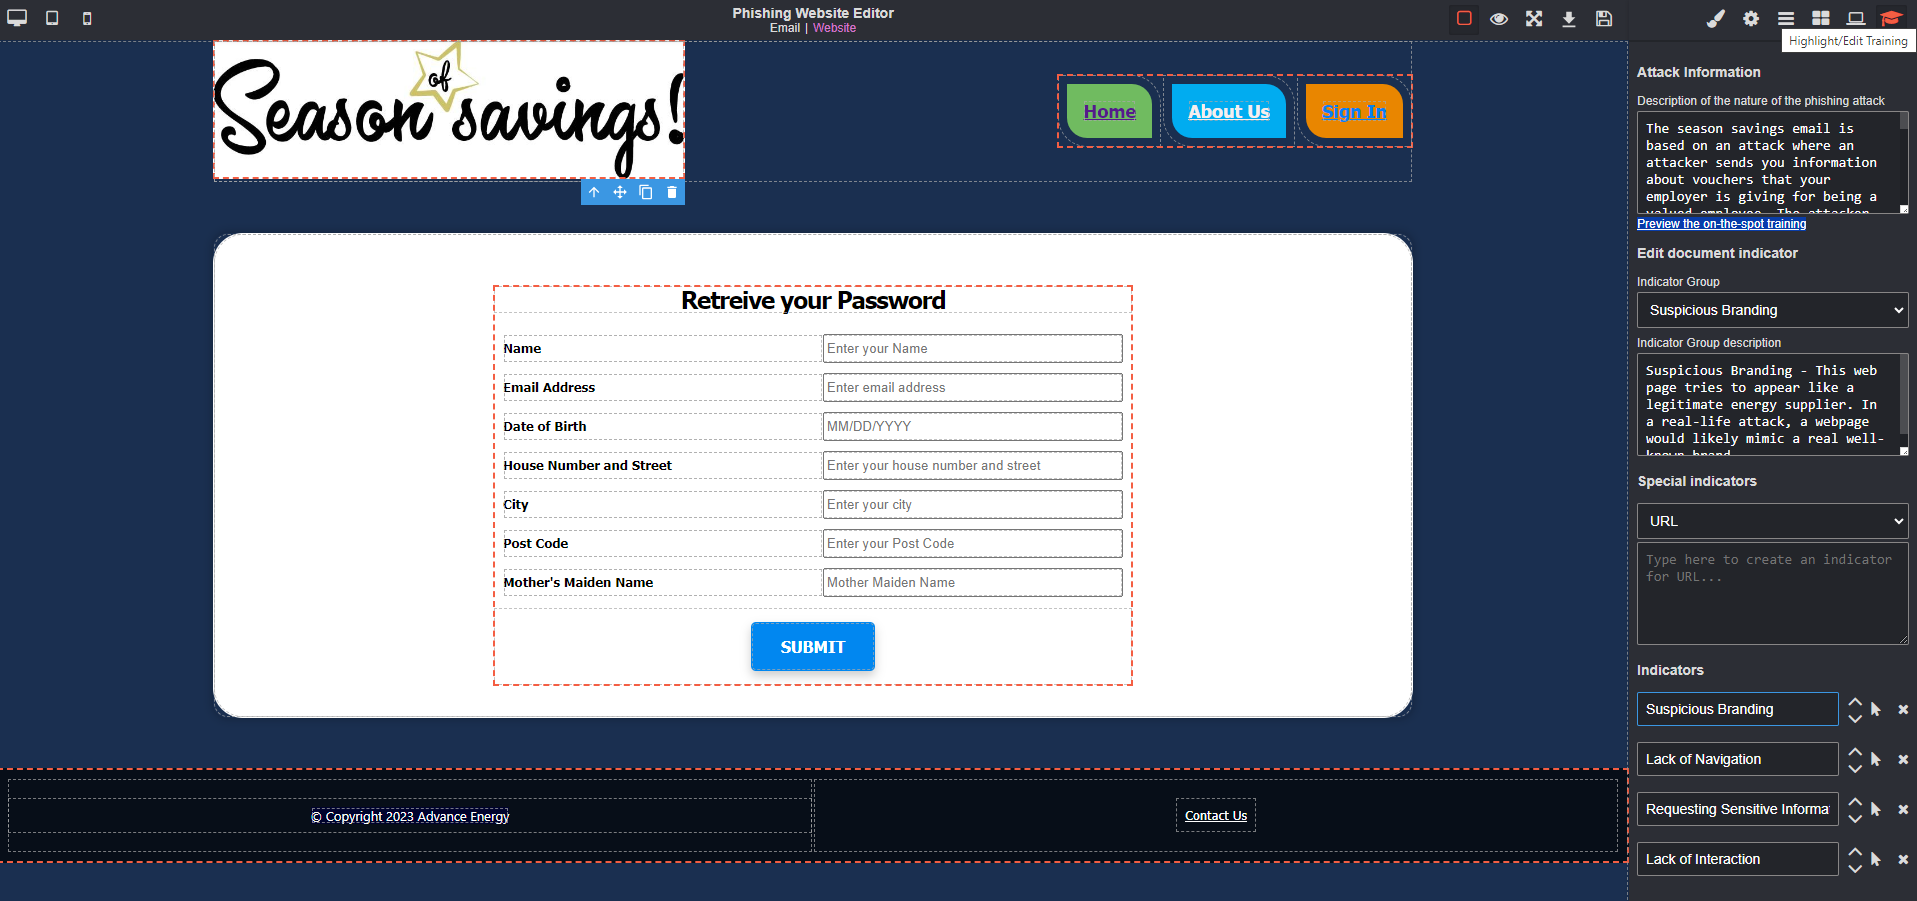
To start editing the website, click on the "website" link that can be found at the top of the Phishing Website Editor. It will be to the right of the "email" link.

Website Edit Options
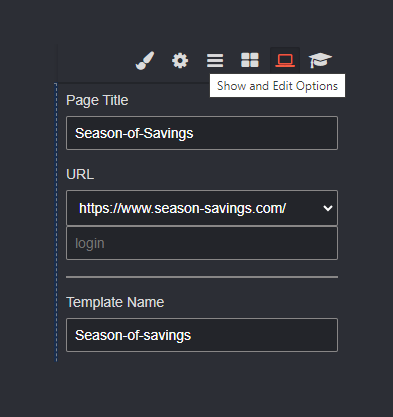
When editing a custom phishing template, you may want to re-name your template, add a new title and even change the URL. To do this, navigate to the show and edit options (computer icon) that can be found in the top right corner. It will be to the left of highlight/edit training.

4. Creating The Training
Email Training
When a user enters information in the simulated phishing website, they will be taken to a training page.
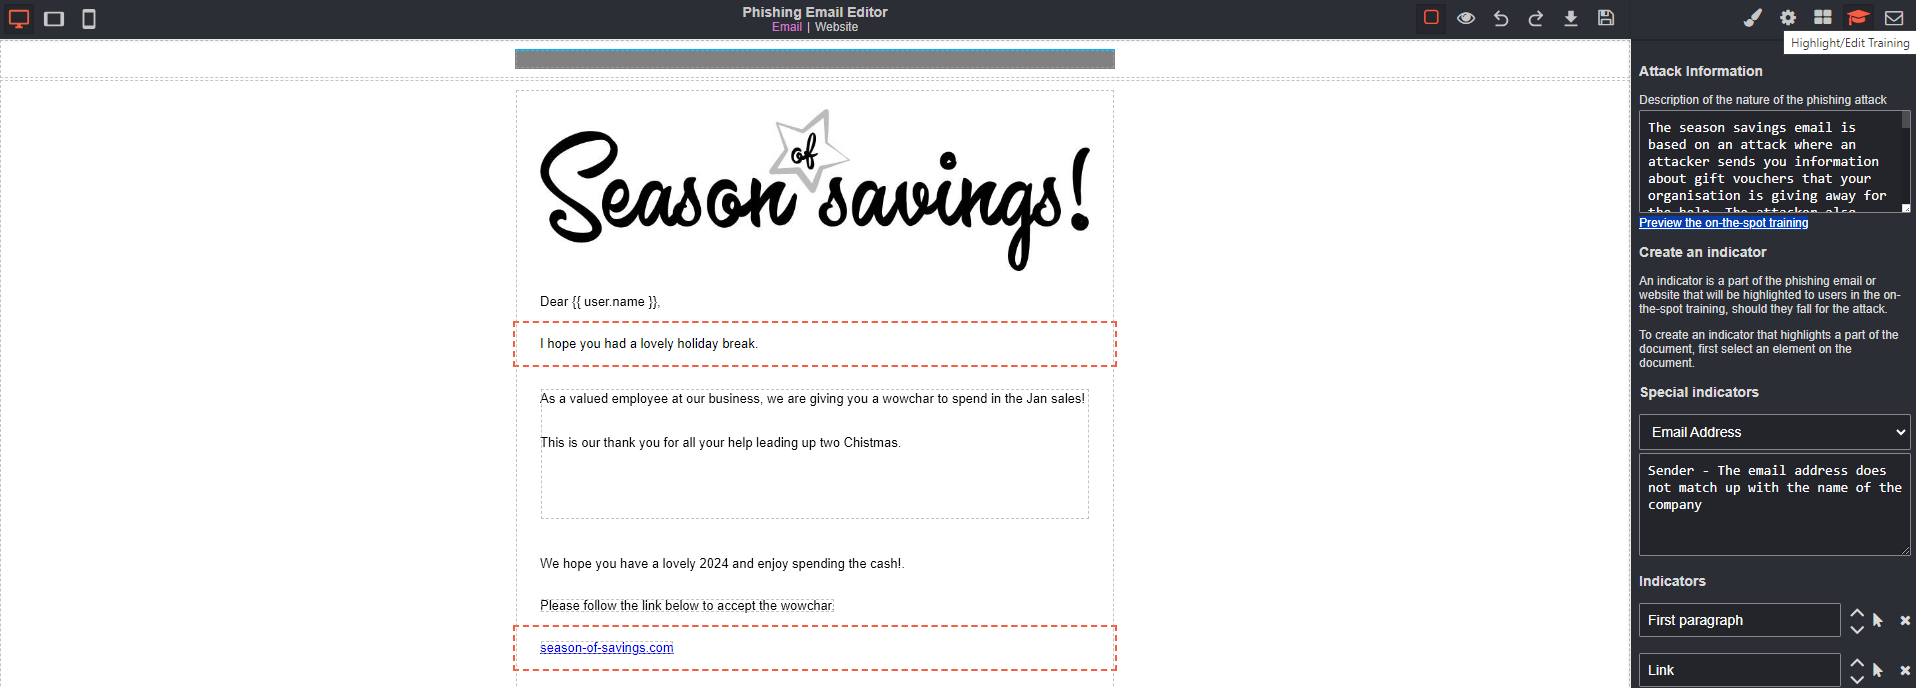
To add a description of the training or to add indicators to the email training, navigate to the highlight/edit training icon that can be found towards the top right corner of the Phishing Email Editor.

You can then go ahead and edit the description of the training, add or remove indicators and preview on the spot training.
Website Training
To highlight/edit the indicators in the website training or to edit the training page after a user gets phished, click the Highlight/Edit training button that can be found in the top right hand corner of the email editor page.

From here, you can then go ahead and start to edit the training or highlight the key indicators that the user should look out for.
Edit Email Options
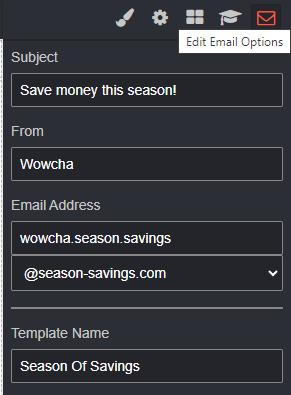
To edit the email options, click the mail icon that can be found in the top right corner.

You have the option to edit the following:
- Email Subject,
- From Name,
- Email Address,
- Template Name.
5. Using The Template
Before you start using your custom phishing template, please ensure you have saved the template.
Before you start using the newly created template, preview the template before sending it out to your users.
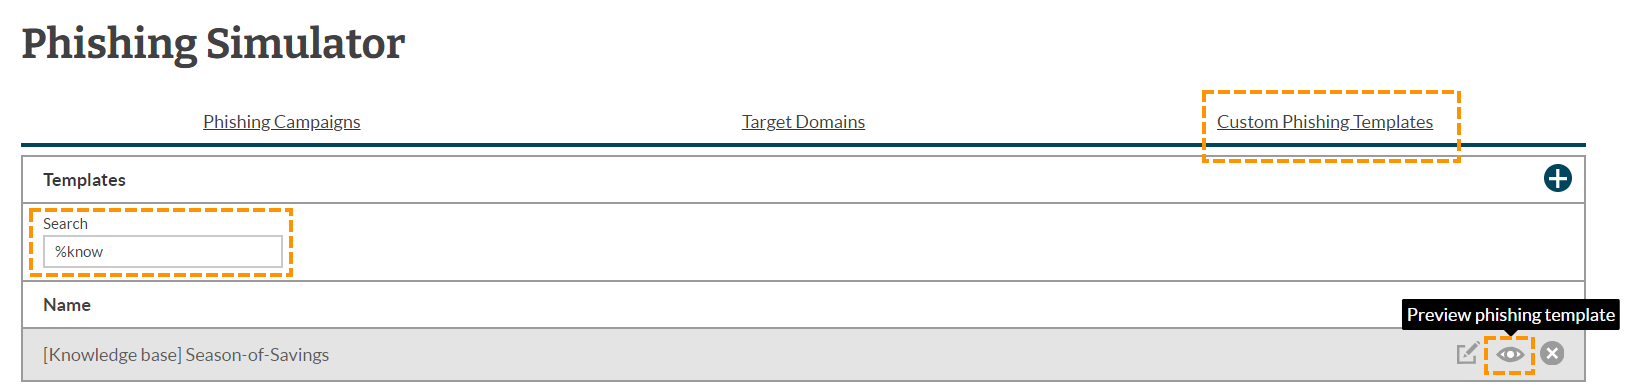
To preview the template, navigate back to the custom phishing templates tab. Then click the eye icon which can be found in-between the edit phishing template and delete phishing template icons.
If you have created a few templates and wanted to search for your template quickly, you can use the search bar to easily find it.
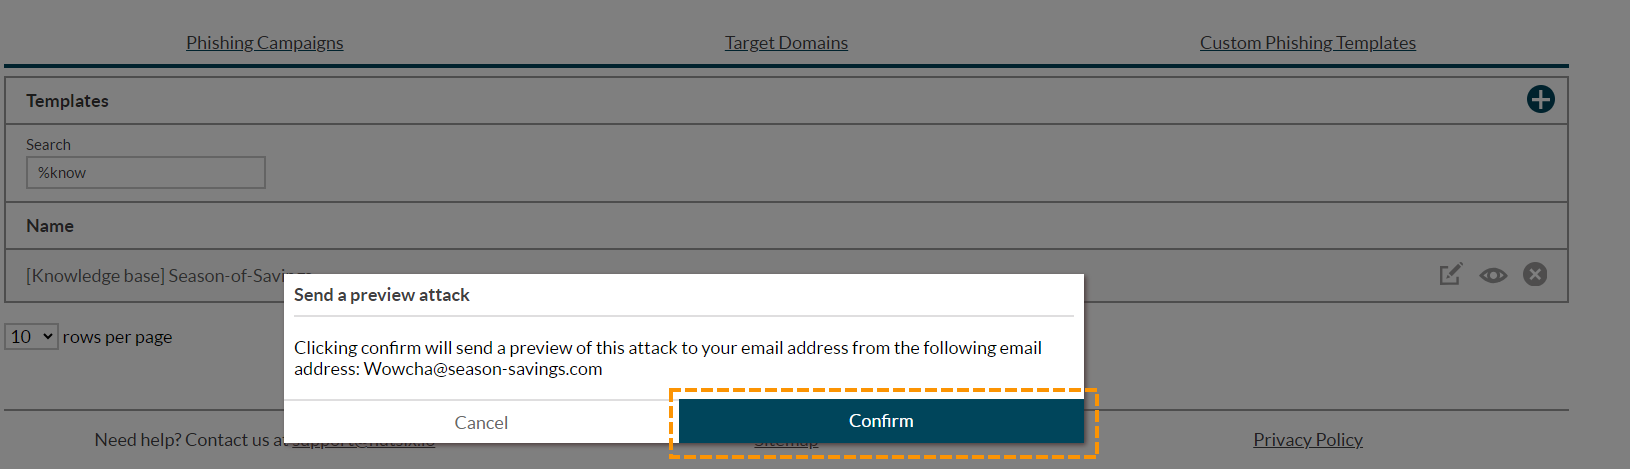
A confirmation box will then appear once the preview phishing template has been clicked. Press confirm to receive the phishing template. The template will appear in your inbox. We recommend going through the steps of being phished so you can see where any changes need to be made.
Once you are happy with your template, you can then go ahead and start to use it. First, start by creating your phishing campaign you will then see the newly created template in the list of templates.
Please take a look at the Phishing editor block reference guide to understand more about the email and website icons.
Enjoyed using our product?
Help us out by leaving a review for on Gartner Peer Insights!
It only takes 5 minutes of your time and every review helps us immensely to reach new clients. Thank you so much.