
How to Create a Phishing Campaign
1. Navigate To Phishing
Before you can create a phishing campaign, you will need to Navigate to phishing
2. Target Domains
Before creating a phishing campaign, please make sure you have verified your target domain.
If you have not set up your target domain; take a look at our guide Adding A Target Domain.
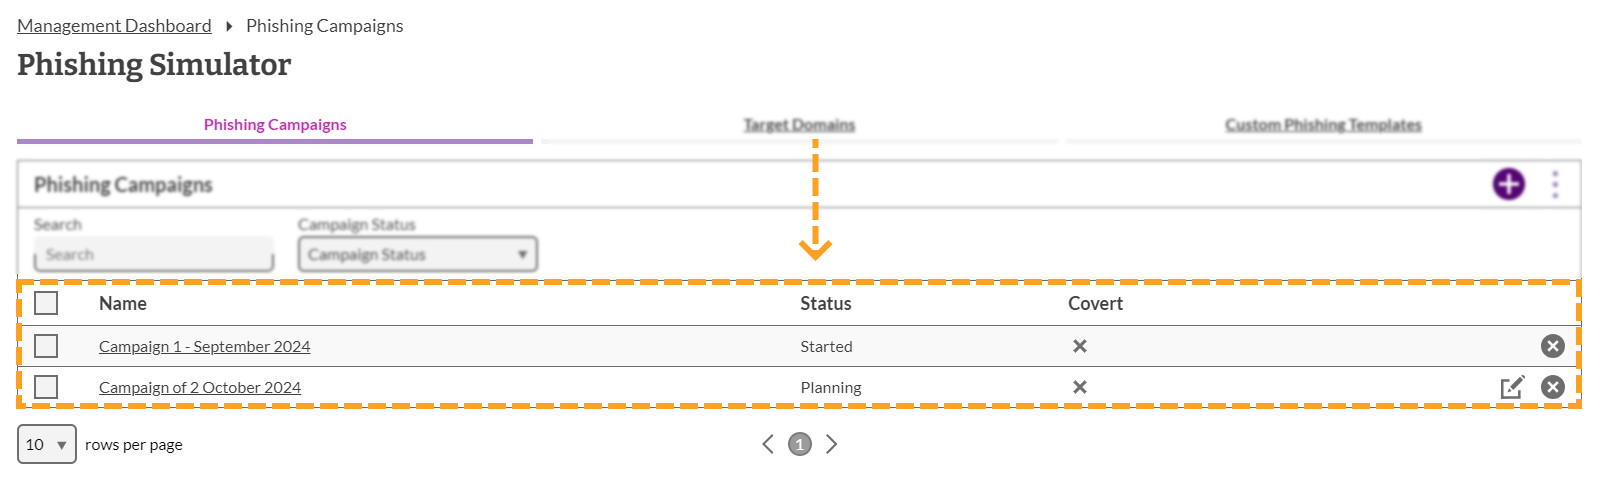
3. Phishing Simulator
In the Phishing Simulator, you will see a table showing phishing campaigns that have been created, as well as their status and action icons.
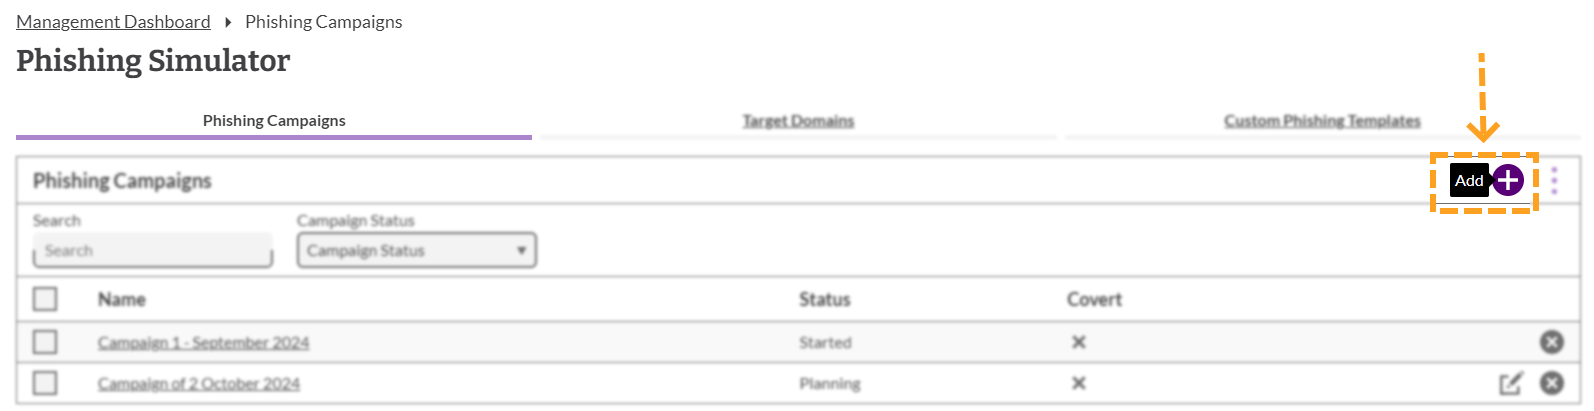
4. Add A Campaign
To create a campaign, click on the 'Add' button that can be found in the top right corner of the phishing simulator.
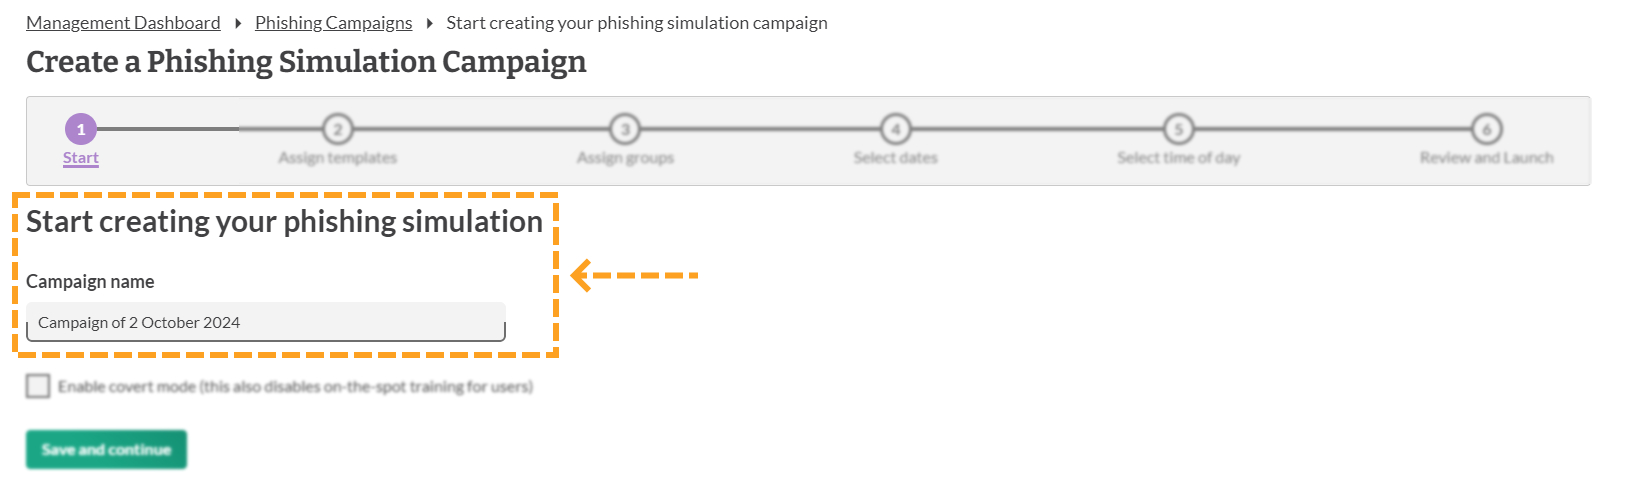
5. Campaign Name
A campaign name will be automatically added. You can either use this or you can enter a name of your choice for the phishing campaign.
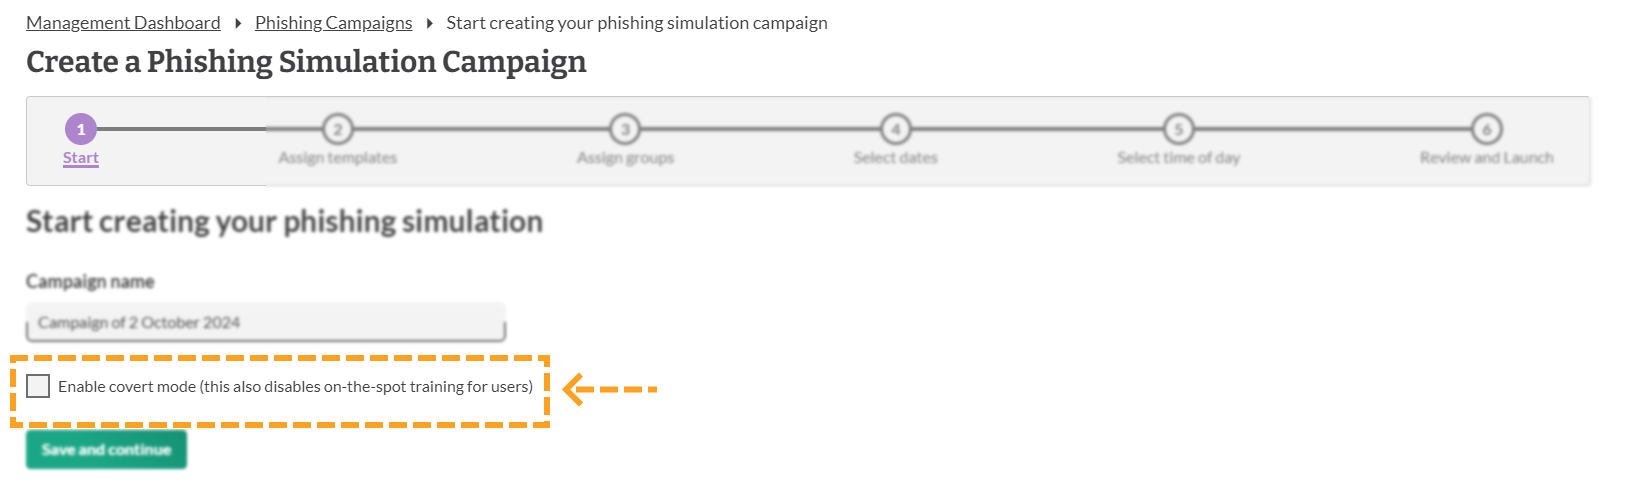
6. Covert Mode
Before you can create a campaign, you will have to decide if you want the campaign to run in covert mode or not.
Covert mode disables the training at the end of the simulated phishing campaign that the end-user would normally be presented. Instead, the end user can view the training in the "phishing results tab" within manage.
To enable covert mode, tick the 'enabling covert mode' box that can be found underneath the campaign name.
After you have decided if you want to enable covert mode or not, click Save and continue to move onto the next step.
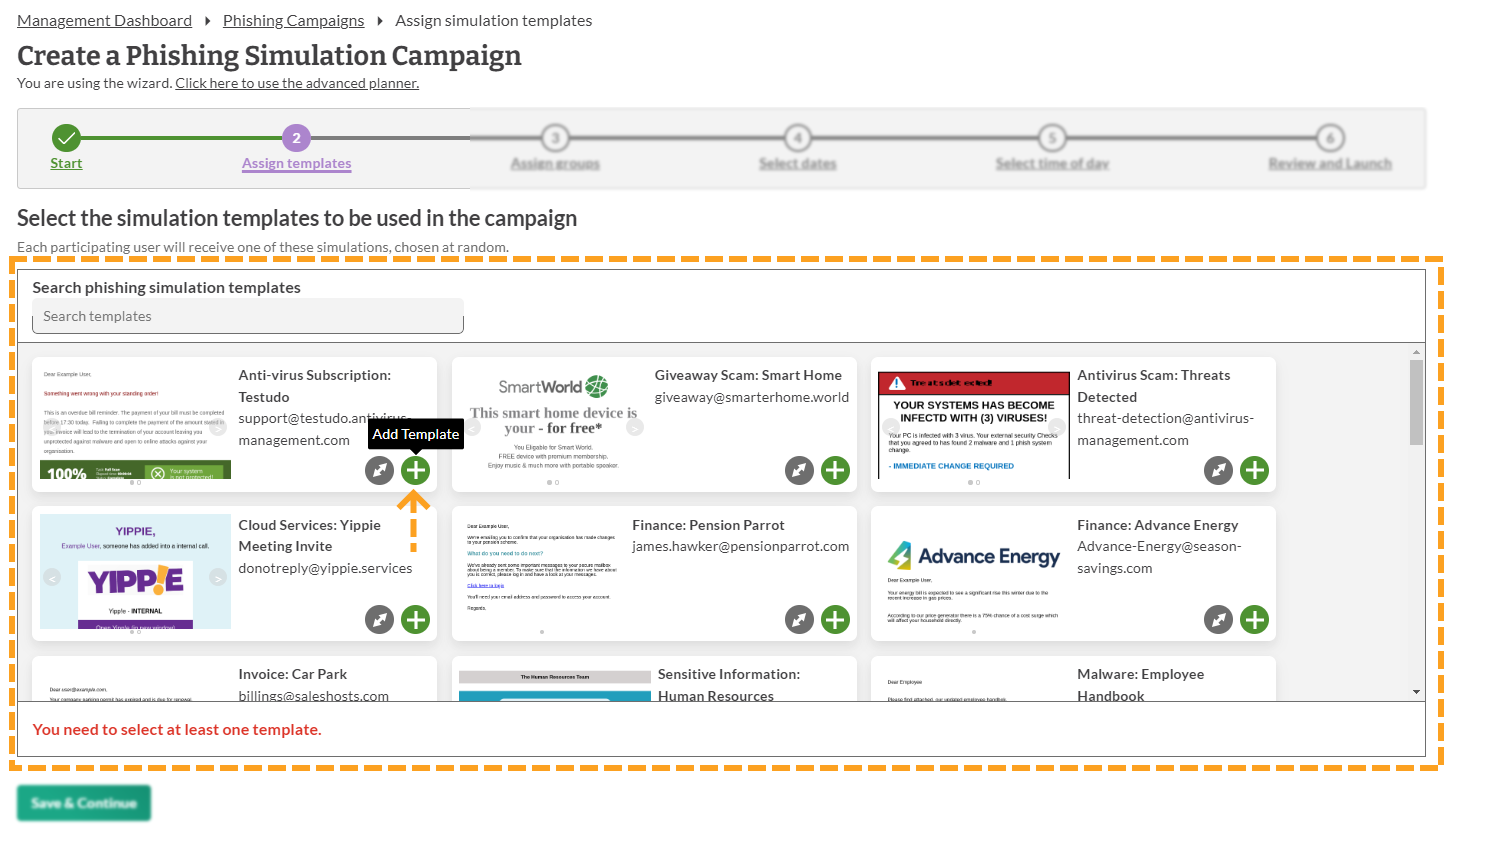
7. Assign Template
Once you have given your campaign a name, you will have to select the template(s) you would like to use.
Each template needs to be added individually. There is no limit to the number of templates that you can use.
Click the 'Add template' button on each template to add it to your campaign.
Note:
Only one template will be sent per user and all templates are sent at random.
Once you have selected the templates you would like to use, click the Save and continue button.
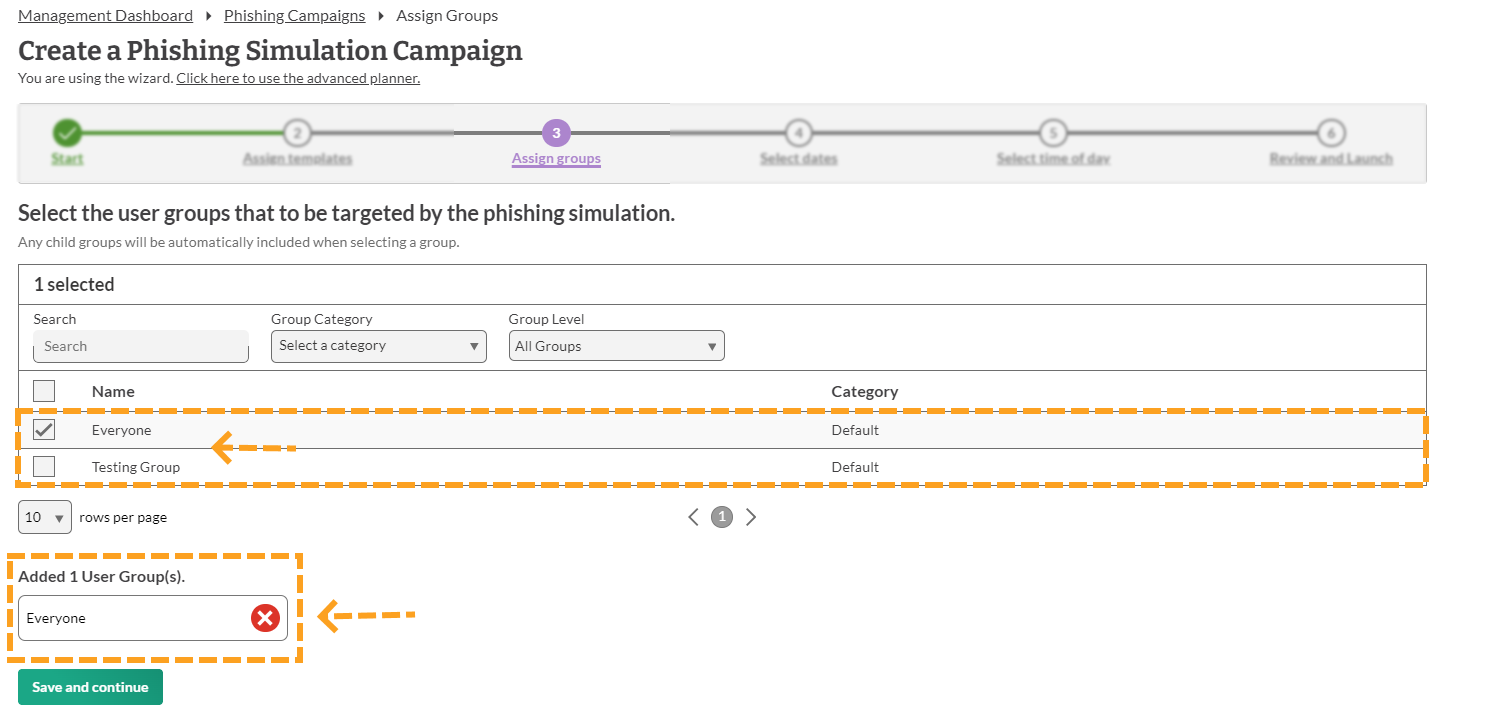
8. Select Group
You will then have to decide which groups you would like to send the phishing campaign to.
You can select as many groups as you would like or you can select the 'everyone' group. This feature is handy if you would like to focus a campaign on a certain group in your organisation rather than sending it to everyone.
To add a group to your phishing campaign, click the box next to the group you would like to select. Once you have selected all the groups you would like to use, click 'Save and continue'.
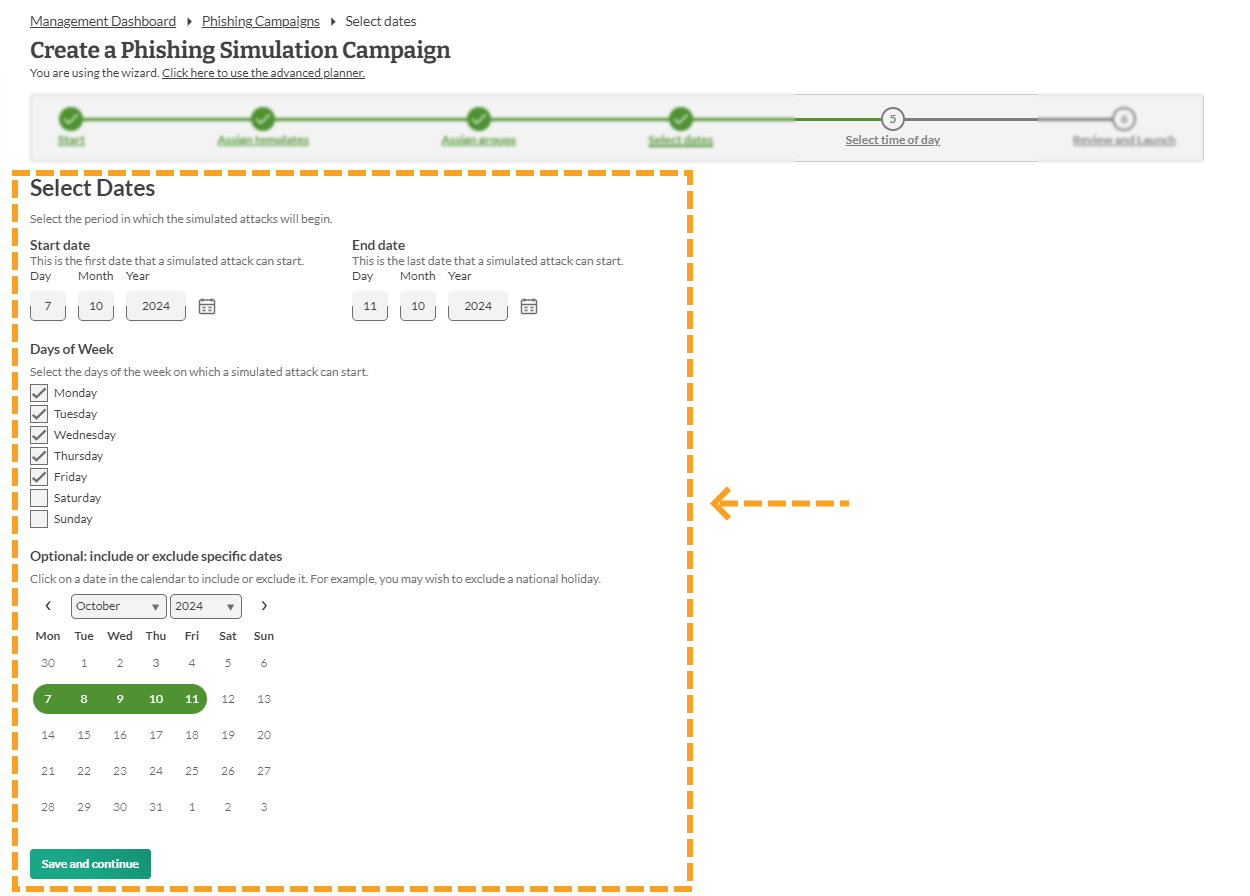
9. Select Date
You will then have to set a date(s) for the campaign to run.
Note:
- We recommend using 5 working days for the phishing campaign. However, it is your choice on how long the campaign runs for.
Once you have set the date, click 'Save and continue'.
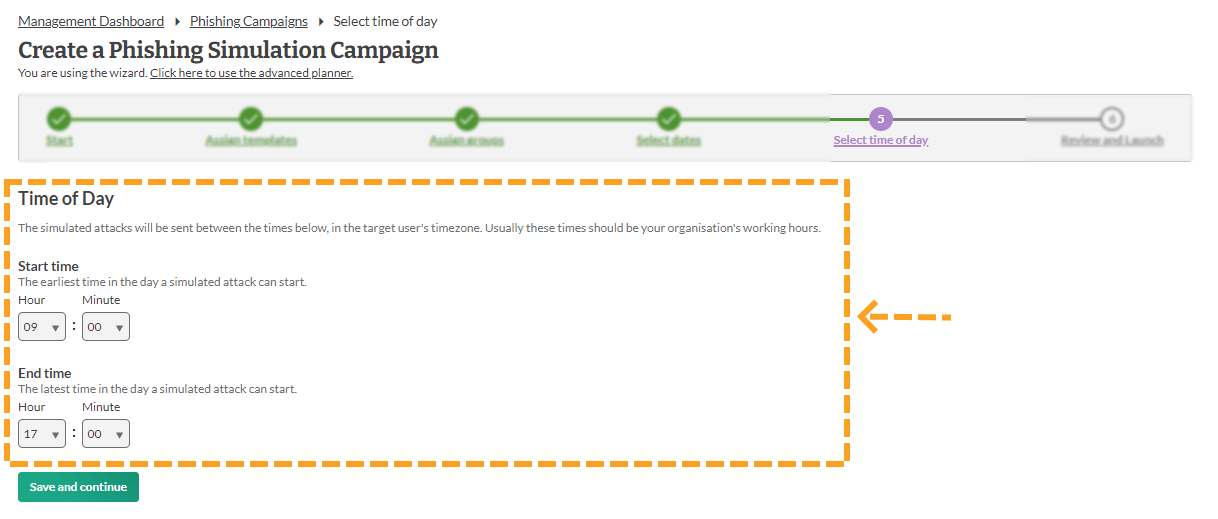
10. Select Time
You will have to set a time for when the emails should start to be send out and a time that they stop being sent.
Note:
- The timings will only get sent at the local time of different countries if it has been configured for that group.
11. Review and Launch
Before you can start your simulated phishing campaign, you will have to review and launch the campaign.
This is where you will have the chance to review all your choices before starting the campaign. The two most important points you need to check are:
- Have the website domains been whitelisted
- Has the Hut Six Mail server has been whitelisted.
You will need to tick the check box to confirm you have made all the necessary checks. Once this has been done and you are ready to launch the simulated phishing campaign, click Launch Campaign

Enjoyed using our product?
Help us out by leaving a review for on Gartner Peer Insights!
It only takes 5 minutes of your time and every review helps us immensely to reach new clients. Thank you so much.