
How to Add Groups Individually

1. Navigate To Groups
Before you can start adding groups individually, you will need to Navigate To Groups
2. Adding A Group
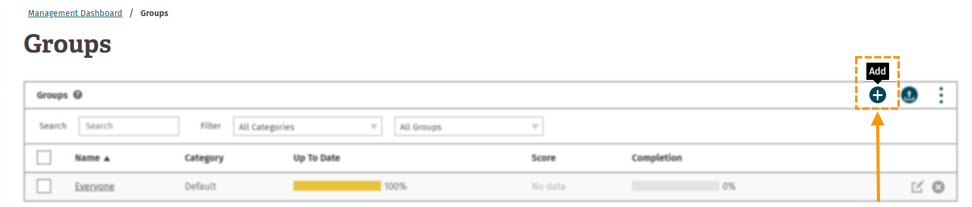
To start adding groups individually, select the ‘add’ button which can be found at the right of the groups table.
3. Create Group
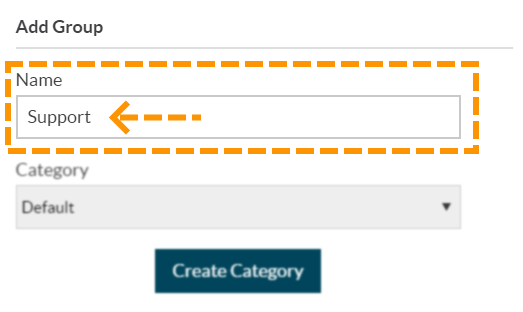
You will then be presented with a group creation box.
The first box you will be presented with will be the 'name' box. This will be where you enter the group name.
4. Selecting a Category
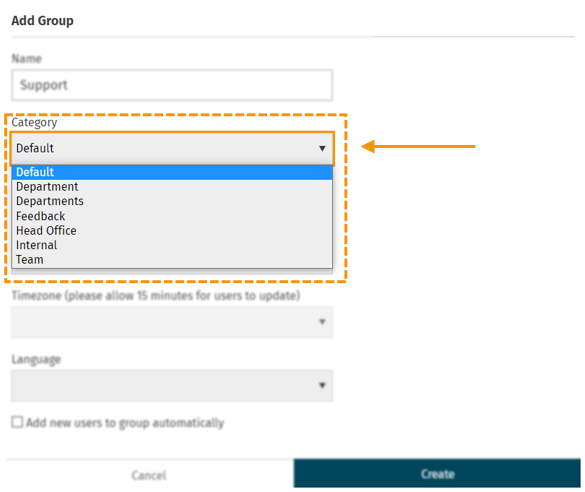
You will then be asked to select a category. You should choose a category that matches the type of group you are creating.
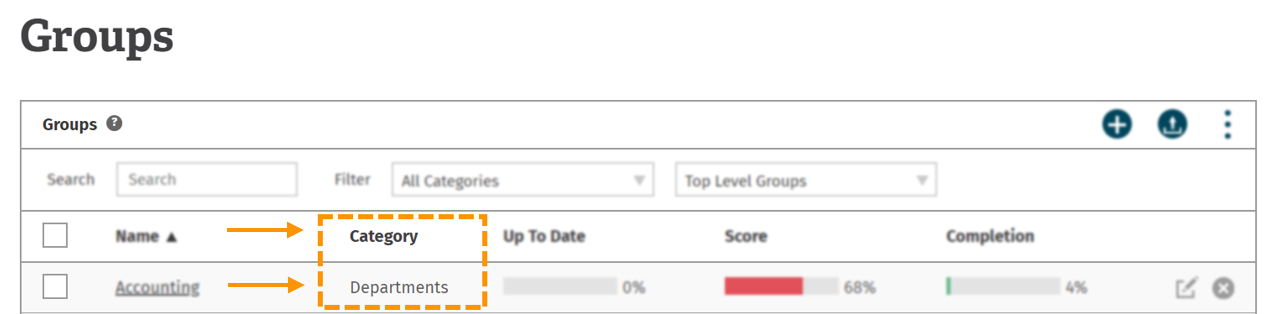
For example, for a group called "Quality Assurance Team" you might choose the category "Team". You can create categories to match your organisation's grouping (see example below).
This becomes useful when gathering metrics, reporting, and phishing campaigns as you will be able to filter through to see how each individual 'category' is doing.
To select the category that your group will be assigned to, click on the drop-down button.
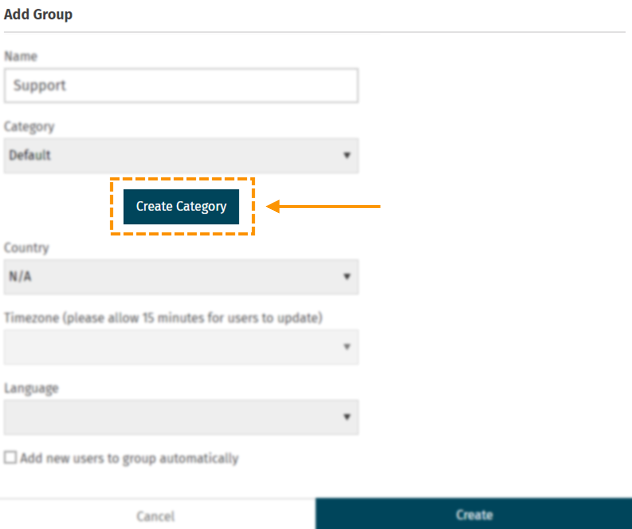
5. Create Category
If the category you want is not in the drop-down menu, you are able to create your own category.
Click 'Create Category' to create the category you want.
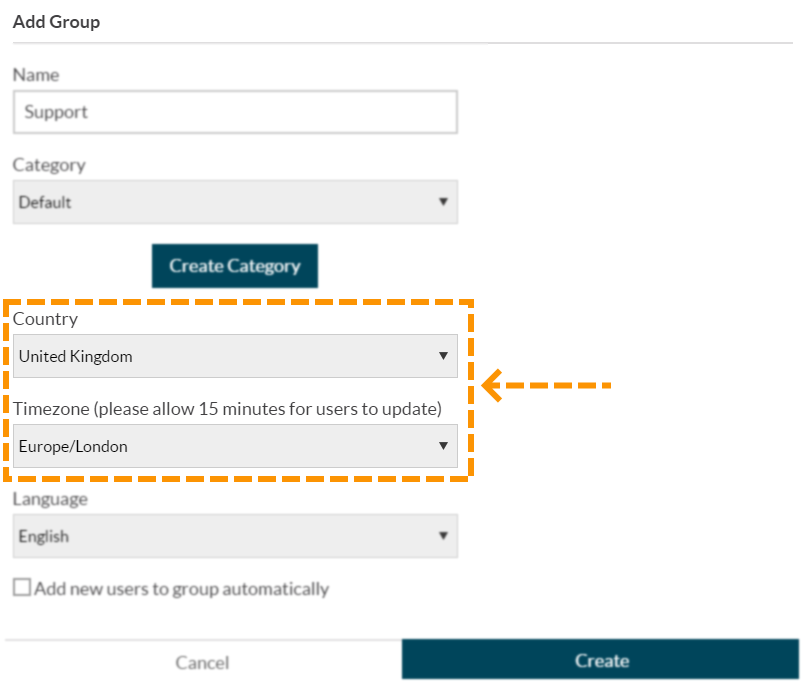
6. Timezone
It is the super-users choice if they would like to set the timezone. Setting the timezone becomes useful in phishing campaigns and email notifications as it will take the group timezone into account.
In order to set the timezone, the country would need to be selected.
7. Add New Users To Group
Before you can confirm the group creation, you must decide if you would like to add new users to the group automatically or not.
The box is currently un-ticked. If you do tick this box - any new users you add to the LMS will always be added to this group.
This works best if you are only using 1 group.
In this example, we are leaving the box un-ticked.

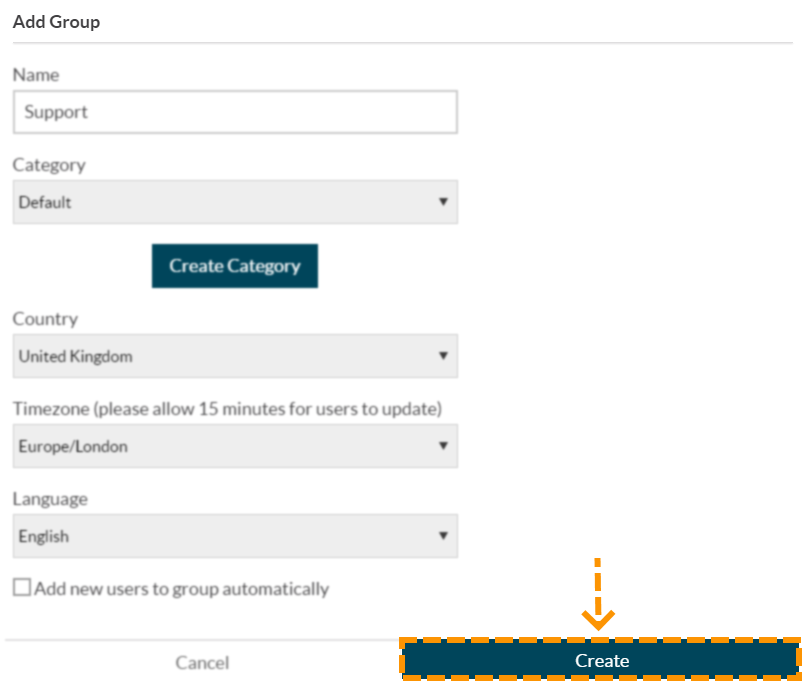
8. Create
Once all the relevant information has been filled in, click 'create' to confirm your group.
Enjoyed using our product?
Help us out by leaving a review for on Gartner Peer Insights!
It only takes 5 minutes of your time and every review helps us immensely to reach new clients. Thank you so much.