
How to Enable Users

1. Navigate To Users
Before you can start enabling a user, you will need to Navigate To Users
2. Find Disabled User
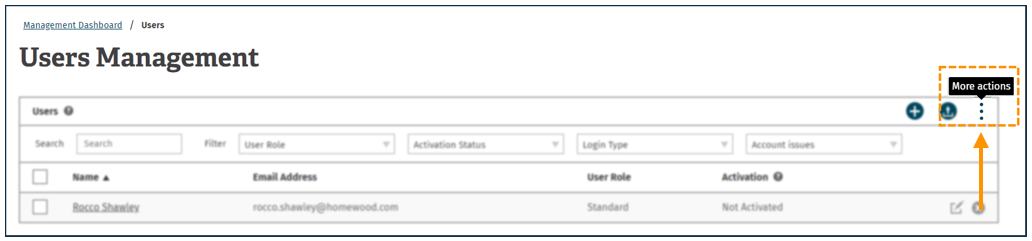
Before you can enable a user, you will have to find the disabled user. To do this, navigate to more actions (hamburger icon) that can be found at the far right of the user management table.
3.Show Disabled User
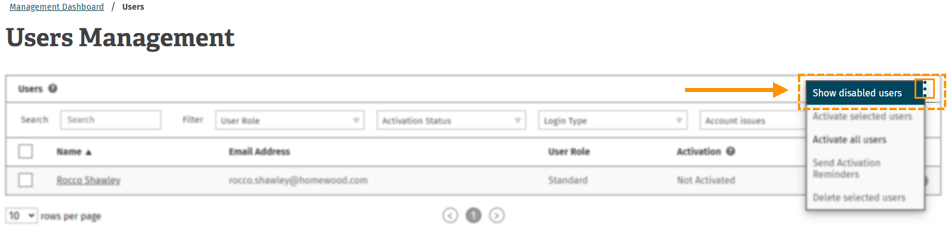
From here select 'show disabled users'. This is the first tab in the drop down menu.
4. Select User
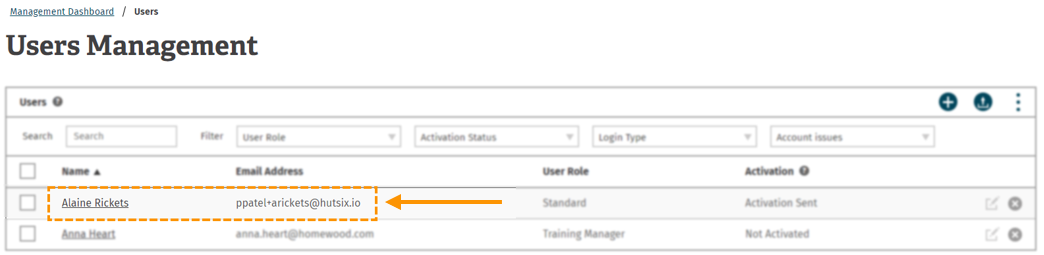
You will then be taken to the disabled user management table.
Select the user that you would like to enable.
For this example, we will be using ‘Alaine Rickets’ account.
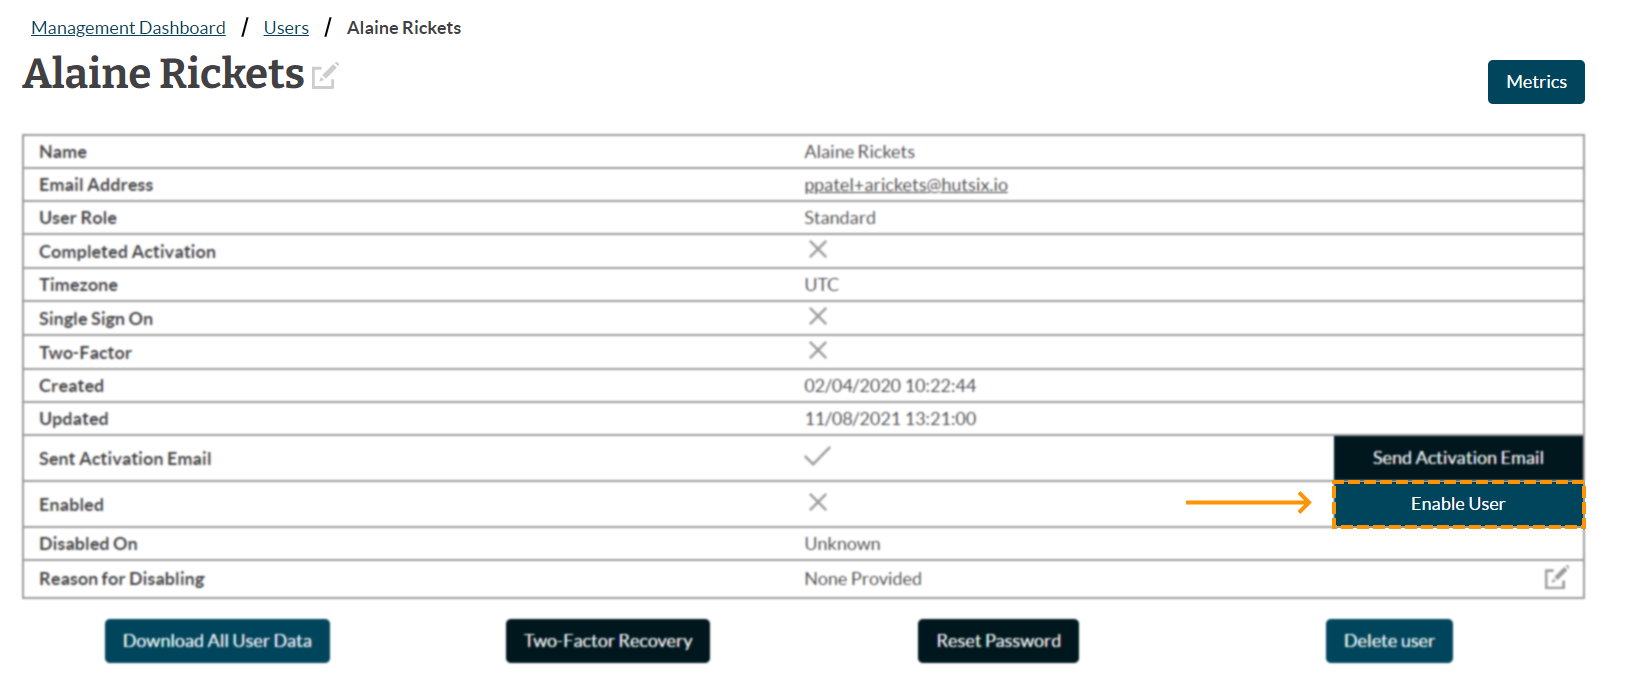
5. User Overview
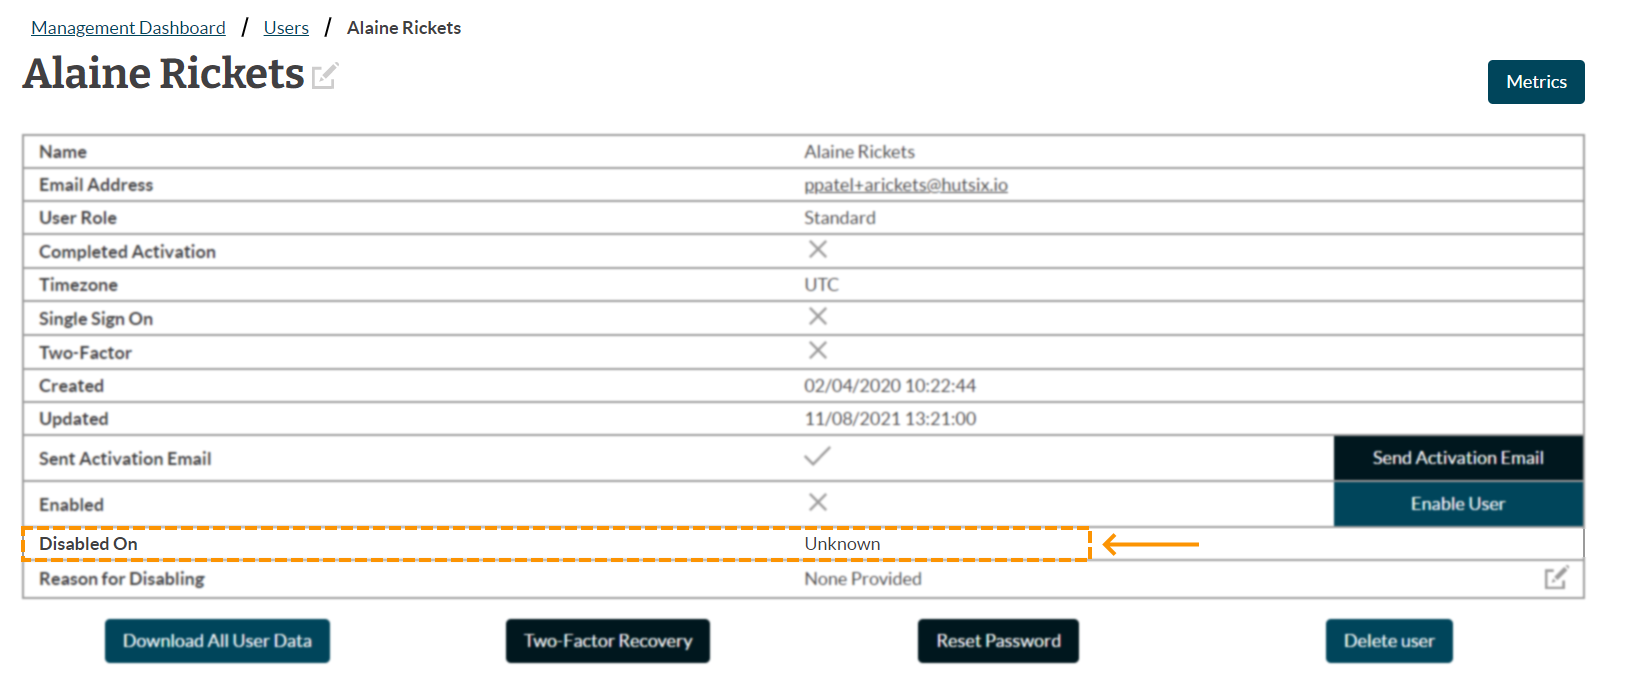
You will then be taken to the user-specific management table. This gives you an overview of the user. This is where you will be able to enable the user.
To check if a user is enabled or disabled or not, navigate to the far right of the enabled section
If there is a '✔' - the user account is enabled
If there is an 'X' - the user account is disabled.
In this example, Alaine's account is disabled.
6. Enable User
Navigate to the 'enabled' row in the user table.
To enable Alaine's account, click the 'enable user' button.
Enjoyed using our product?
Help us out by leaving a review for on Gartner Peer Insights!
It only takes 5 minutes of your time and every review helps us immensely to reach new clients. Thank you so much.