
Target Domains
1. Navigate To Phishing
Before you can add a target domain, you will need to Navigate to phishing
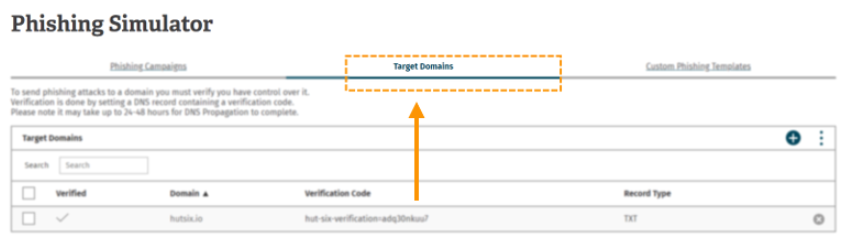
2. Target Domains
Before any simulated phishing emails can be sent to the users in your organisation, Hut Six will need to verify that the web domain is owned by your organisation.
You will be provided with a unique verification code that must be added to the Domain Name Service (DNS) records of your domain. Once this is done, Hut Six then verifies this DNS record and simulated phishing emails will be allowed to be sent out.
Click the 2nd tab towards the top of the table named 'Target Domains'.
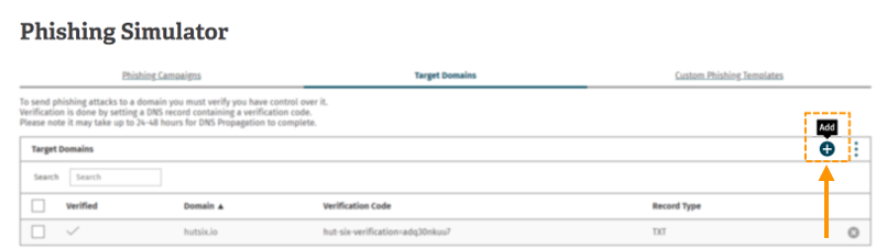
3. Adding The Domain
Click the 'Add' button that can be found in the top right-hand corner of the target domain table.
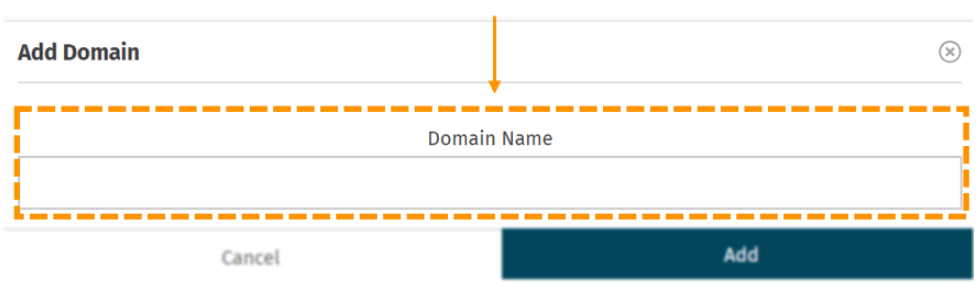
4. Domain Name
You will then be presented with a dialogue box where you can enter the Domain Name.
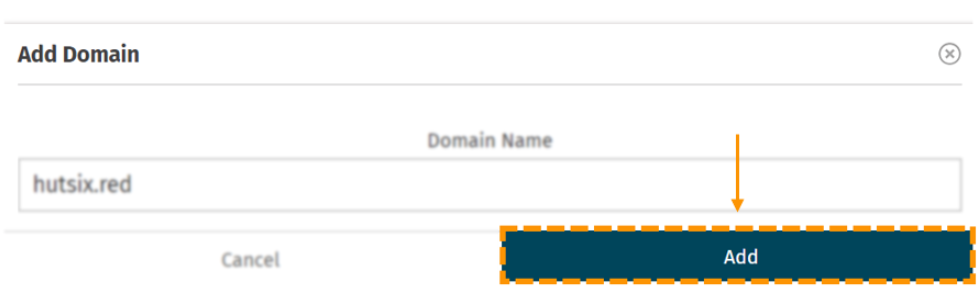
5. Add Domain Name
Once you have entered your domain name, click the 'Add' button that can be found at the bottom right corner of the dialogue box.
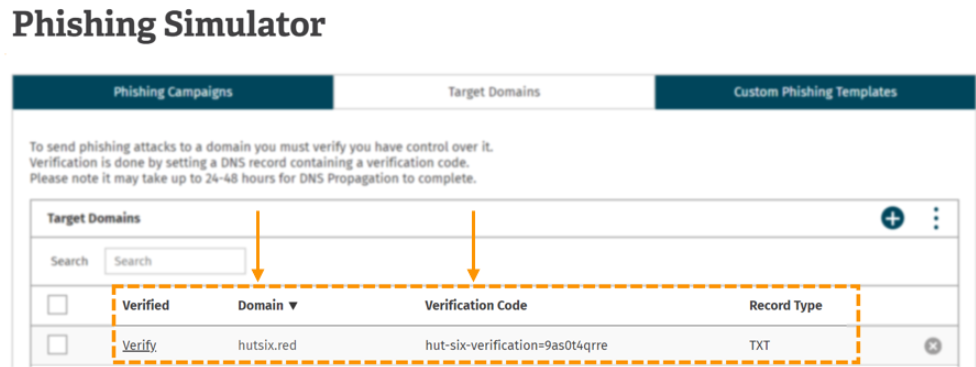
6. Target Domain
After clicking add, your 'Target Domain' will appear in the table with a corresponding verification code.
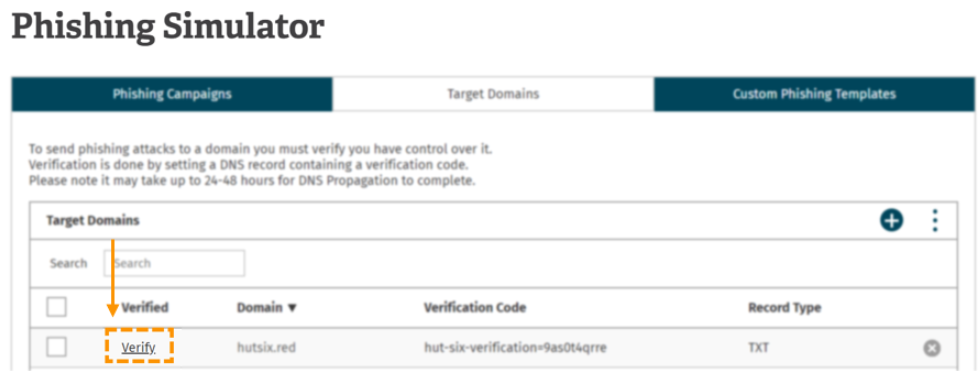
7. Verify
Before you can click verify, you need to add a TXT DNS record to your domain.
Once you have successfully added the verification code to your DNS you will need to click 'Verify'.
If you have correctly added the DNS the 'verify' will be replaced with a tick (✓ ).
Note:
If the verify button does not change to a '✓ ' or you receive an error message, then your domain has not been verified and you will need to check that your DNS record has been entered correctly.
Enjoyed using our product?
Help us out by leaving a review for on Gartner Peer Insights!
It only takes 5 minutes of your time and every review helps us immensely to reach new clients. Thank you so much.